We have talked about different state management techniques in a reactJS application, to maintain the state of your application in a global store so that it can access any of the components inside the application wrapped by the provider. The techniques are
In this one, we are going to take a look at MobX, another state management library that is simple and scalable.
Why MobX? 🧐
- Straightforward, minimalistic, boilerplate-free code.
- Optimal rendering
- Architectural freedom, makes your code decoupled, testable and portable.
Now without further ado let’s dive into the code
ReactJS x MobX
First install the dependencies
npm i mobx mobx-reactNext, we will configure the store to set and get the global state
import { makeAutoObservable } from "mobx";

class Store {
  userData = {};

  constructor() {
    makeAutoObservable(this);
  }

  setUserData(userData) {
    this.userData = userData;
  }
}

const store = new Store();

export default store;
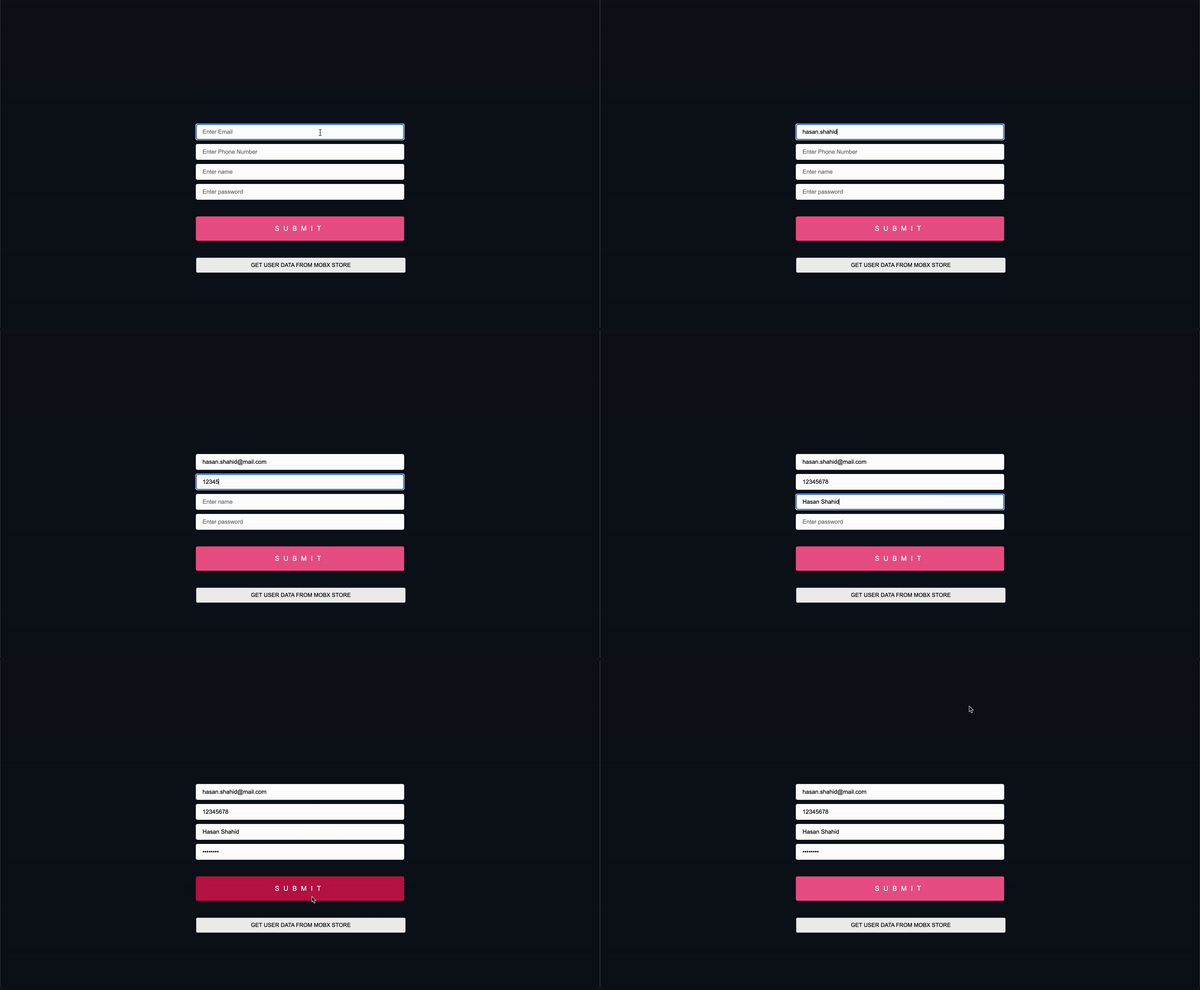
We made an auto-observable store class using mobX. Now to consume and set the user data inside the store now we head over to our custom component. We have a form inside our custom component which stores some user information inside our store and then alerts it when we press the Get User Data from MobX store button with the help of an observer wrapping our custom component provided by mobx-react.
import React from "react";
import { observer } from "mobx-react";
import store from "./store";

const CustomComponent = () => {
  ... Form State

  //custom onSubmit
  const onSubmit = (data) => {
    store.setUserData(data);
  };
  return (
    <div>
      ... Form Component
      <button
        className="button"
        onClick={() => alert(`${JSON.stringify(store.userData)}`)}
      >
        Get User Data from MobX store
      </button>
    </div>
  );
};

export default observer(CustomComponent);
Moment Of Truth 🤓

Wrap Up
That was so clean 😮💨. I hope you grasped something new in this one and did not leave me halfway through. I like mobX because of the easy-to-get-started way and open platform for architecture. I will see you at the next one. Take care.
💬 Leave a comment