In case you have wondered how to create a new Svelte project, there is nothing difficult about that. The process itself is very similar to how you’d create a React project. All it takes is to run a couple of commands from your terminal.
Node
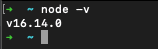
In order to run a Svelte project, you’ll need to have Node installed on your machine. If you don’t know if you have it installed run
$ node -v
in your terminal. If node is installed on your computer then the terminal will return its version. In my case it’s v16.14.0, yours may be different!
If you need to install node then I’d recommend using the Node Version Manager (nvm), which lets you easily swap between different node versions. However, if you’re completely new to engineering you may struggle a little bit with following the steps. In that case head over to the official website for node and install the recommended version manually.
Commands
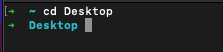
Open a new terminal window on your machine and point it to the desired directory where you’d like to have the project created. It doesn’t really matter where you point it, you can even point it to the Desktop to make it easy to access.
Once this is done run the following command.
$ npx degit sveltejs/template <project-name>Remember to replace the <project-name> variable with some meaningful name. In my case, I have used the default name my-svelte-project.
Running from Terminal
Once the command finished running successfully it should have generated your Svelte project. You can open it by running
cd <project-name>to navigate to the root directory.
The last step would be to install the dependencies and run the project itself by executing
npm install
npm run dev
You should see a message popup that there was a successful compilation and that you can view your application at localhost:8080.
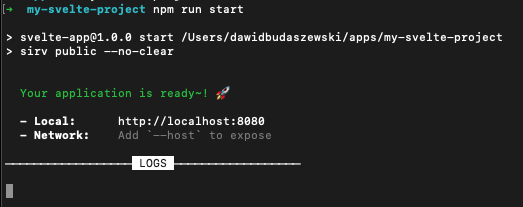
If you navigate there, you can see that the app is running!
VS Code
Alternatively, you can skip the last three commands that open the root directory of your project in the VS Code itself.
You may have heard the name VS Code many times in the context of coding. VS Code can be simply described as a text editor on steroids. It’s rich in features that enable really quick writing and editing of your code.
You can download it from its official website.
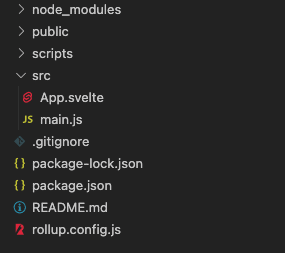
Once you have it up and running click on Open… and select the newly generated directory. After a second you should see that the left sidebar is populated with your project files.
From the settings menu select the Terminal > New Terminal. This should open the new terminal window at the bottom of your screen.
Now go ahead and install your dependencies and build the project by running
npm install
npm run dev
just like in the previous approach. You should see that the app started running on localhost:/8080.
💬 Leave a comment