Strapi is a headless CMS, or Content Management System. If you’ve ever used a site editor like WordPress or Squarespace, these give you a back-end CMS, where you edit the content, and the front-end “head”, which handles displaying/rendering your content.
With a headless CMS like Strapi, you can manage your content in the back-end, and build your own renderer. You can use Next.js as your front-end for Strapi very simply by consuming the API endpoints Strapi provides for your content.
Setup
First we’re going to set up our project. Create a folder for your project, using
mkdir nextjs-strapi-todoThen we’ll set up Strapi using:
npx create-strapi-app@latest strapi-todo(Add –ts on to the end if you’d like to use TypeScript for this project)
Feel free to use the default settings, following the quickstart options.
You can check out the code for the Next.js side of this at this GitHub repo, and feel free to have a look to follow along.
Strapi
Run this command in your console:
npm run developAnd you should be greeted by this screen in your browser:
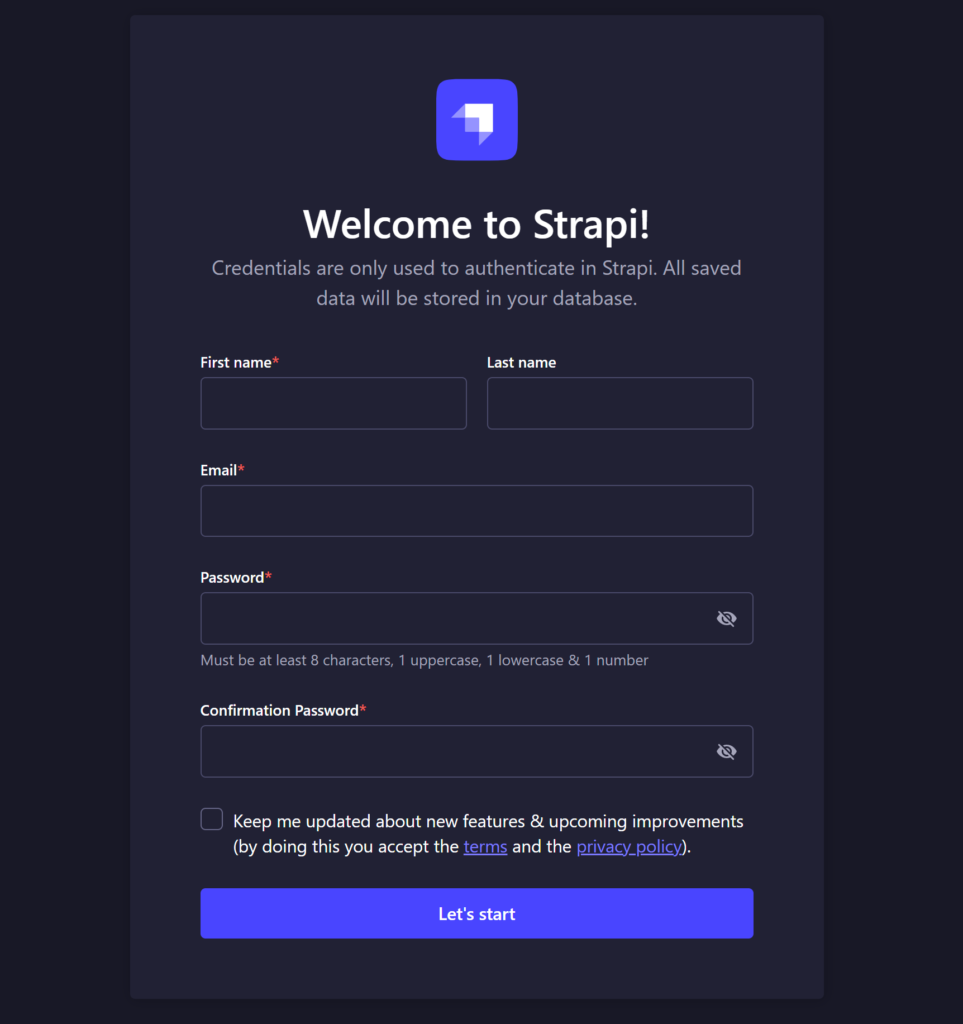
After setting up your account, head to the Content Type Builder to create the content type for your todos.
Create a new collection type for your todo:
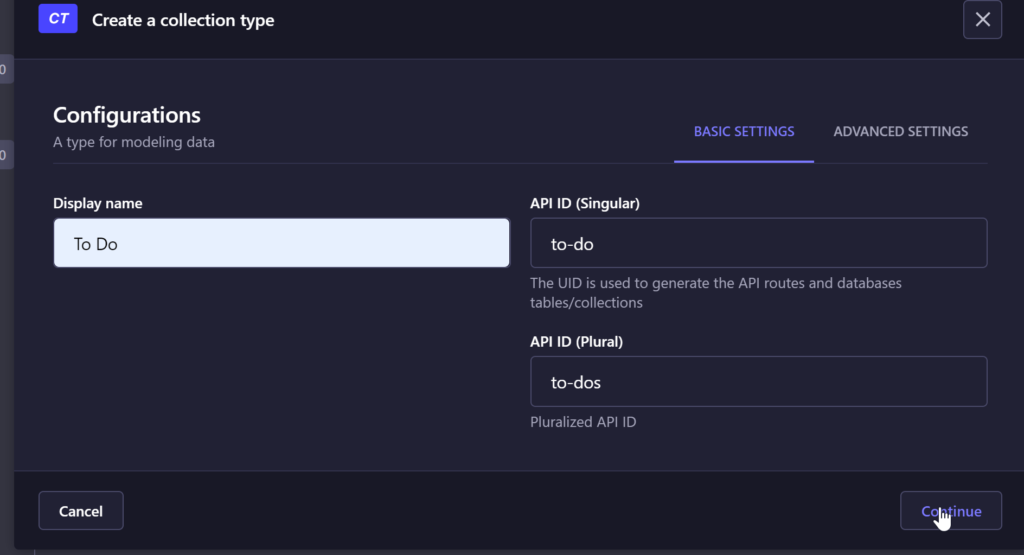
And add in two fields for your title and description.
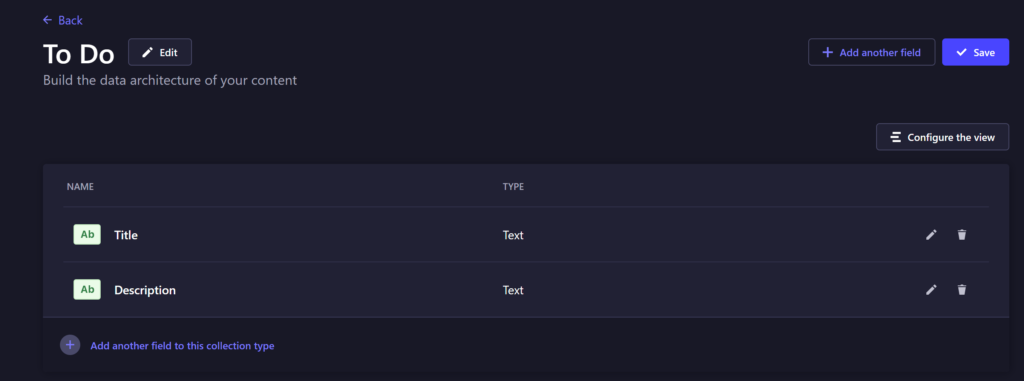
That’s all we need to do for defining the schema, or “shape” of our todos. To actually create some, we can head over to the Content Manager:
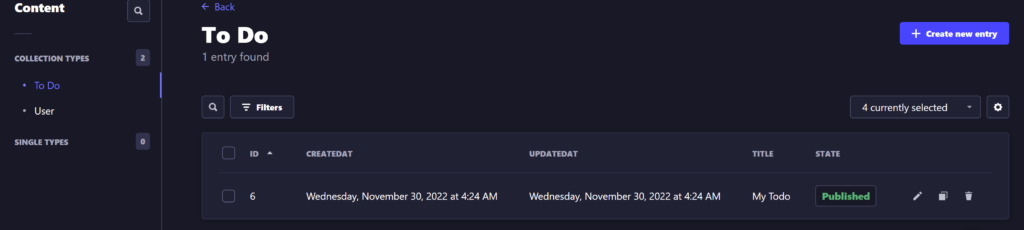
Strapi makes it very straightforward to add content, especially with a simple type like our todos.
The final piece of work we need to do for our back-end is making our APIs public. Head to Settings -> Users & Permissions -> Roles -> Public, and you can add the permissions to our To-do API to make it accessible:
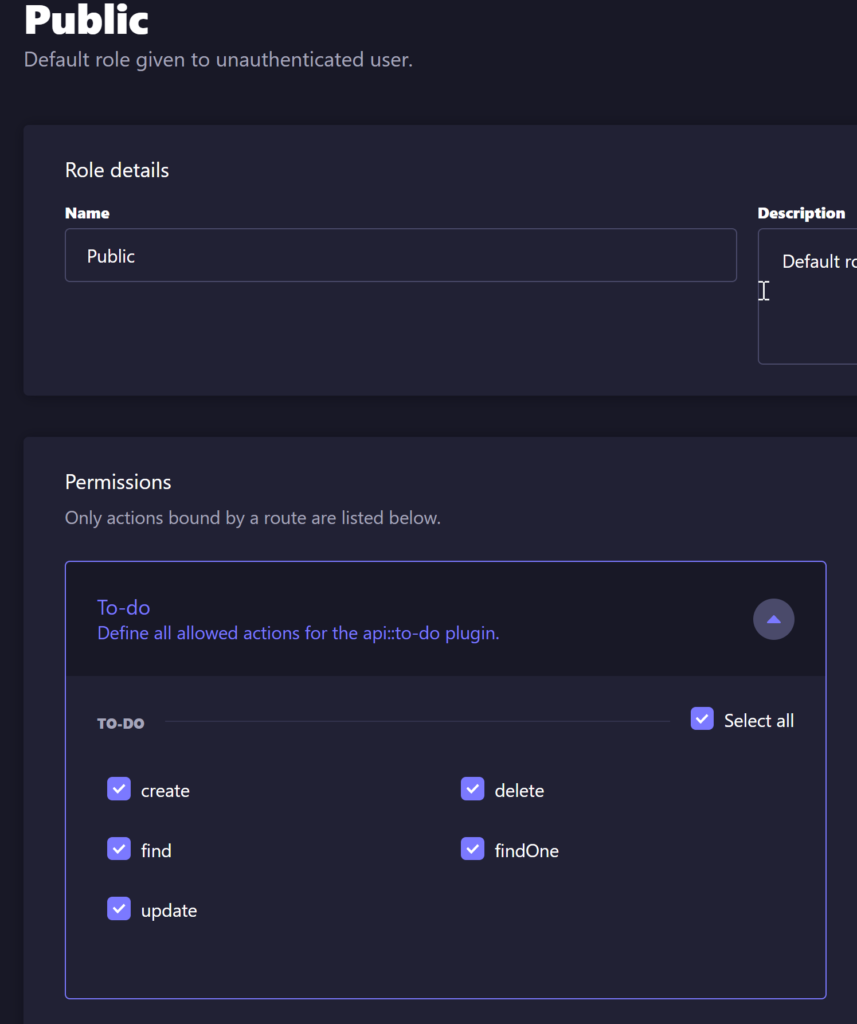
And that’s all the work we need to do for the back-end! You can now access your API publicly, for example with curl:

We can see our todos in JSON form, ready to be consumed by our front-end.
Front-End
Now let’s build our front-end!
Firstly, we’re going to use Server Side Rendering to load in our initial list of todos:
export const getServerSideProps: GetServerSideProps = async () => {
    const initialTodos = await axios
        .get<{ data: TodoDTO[] }>(API_URL + 'to-dos')
        .then(({ data }) => {
            return data.data.map(convertTodo);
        });
    return { props: { initialTodos } };
};
Very simple, we’re just using Axios to perform a get call. I’m using a helper function here just to transform the response we get from Strapi to a nicer shape.
Here’s the full code for our page, let’s break this up step by step.
export default function Home({ initialTodos }: { initialTodos: Todo[] }) {
    const [todos, setTodos] = useState<Todo[]>(initialTodos);

    const { register, handleSubmit, watch, formState } = useForm();
    const addTodo = (todo: Todo) => {
        axios
            .post<{ data: TodoDTO }>(API_URL + 'to-dos', {
                data: todo,
            })
            .then((res) =>
                setTodos((prev) => [...prev, convertTodo(res.data.data)])
            );
        //setTodos((prevTodos) => [...prevTodos, todo]);
    };
    const deleteTodo = (deleteId: Todo['id']) => {
        axios
            .delete<{ data: TodoDTO }>(API_URL + 'to-dos/' + deleteId)
            .then(({ data }) =>
                setTodos((prevTodos) =>
                    prevTodos.filter(({ id }) => id != data.data.id)
                )
            );
    };

    return (
        <div className="flex h-screen w-full items-center justify-center">
            <Head>
                <title>To Do</title>
                <link rel="icon" href="/favicon.ico" />
            </Head>
            <main className="flex h-screen w-full items-center justify-center bg-stone-900">
                <ul className="flex flex-col gap-4">
                    {todos.map((todo) => (
                        <TodoItem
                            key={todo.id}
                            {...todo}
                            onDelete={() => deleteTodo(todo.id)}
                        />
                    ))}
                    <li className="card flex w-96 flex-row items-center justify-center">
                        <form
                            className="flex grow flex-row"
                            onSubmit={handleSubmit((data) =>
                                addTodo(data as Todo)
                            )}>
                            <div className="flex grow flex-col">
                                <input
                                    type="text"
                                    placeholder="Title"
                                    {...register('title')}
                                />
                                <input
                                    type="text"
                                    placeholder="Description"
                                    {...register('description')}
                                />
                            </div>
                            <button
                                className="aspect-square w-12 rounded bg-red-500 text-2xl"
                                type="submit">
                                <FaPlus className="m-auto" />
                            </button>
                        </form>
                    </li>
                </ul>
            </main>
        </div>
    );
}
First, since we’re modifying our todo list, it’s a good idea to store them in state, with a useState hook:
const [todos, setTodos] = useState<Todo[]>(initialTodos);Then we need some helper functions for adding and removing todos:
    const addTodo = (todo: Todo) => {
        axios
            .post<{ data: TodoDTO }>(API_URL + 'to-dos', {
                data: todo,
            })
            .then((res) =>
                setTodos((prev) => [...prev, convertTodo(res.data.data)])
            );
    };
    const deleteTodo = (deleteId: Todo['id']) => {
        axios
            .delete<{ data: TodoDTO }>(API_URL + 'to-dos/' + deleteId)
            .then(({ data }) =>
                setTodos((prevTodos) =>
                    prevTodos.filter(({ id }) => id != data.data.id)
                )
            );
    };
Instead of directly setting the state, we first make the request to the Strapi back-end, so we can use the response of that. This has the benefit of keeping the front and back-end in sync. If our code errors as well, the next step won’t be ran, and the front-end won’t get changed.
These are the important parts of our code, the rest is just rendering our todo items with some styling from TailwindCSS. I’m also using React Hook Forms to help with some of the form handling.
Here’s our end result:
We can add and remove To-dos, all while storing them and keeping them in sync with our Strapi backend.
Thanks for reading this article, feel free to check out the full code here if you’re interested. Leave a comment below if you’re having any troubles, or if you simply liked the article!
💬 Leave a comment