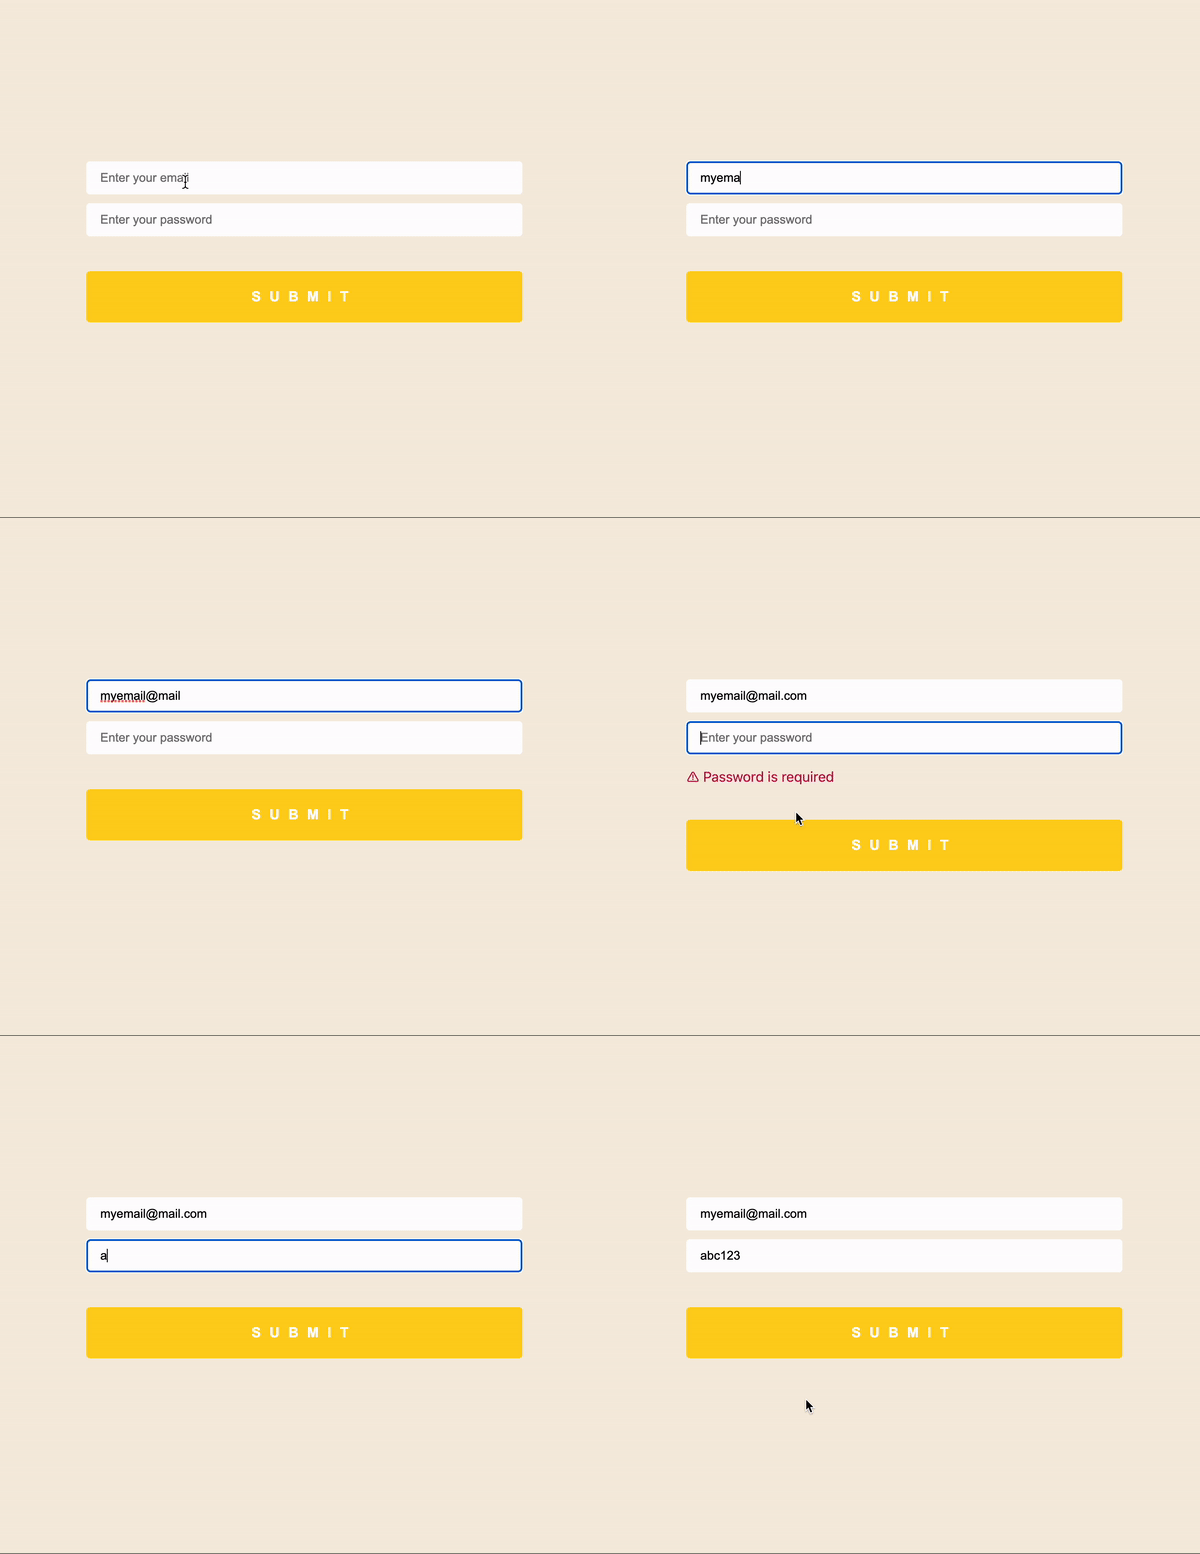
In this article, we will go exploring better forms with reactjs. We have previously talked about react form and their validation using a custom hook. In this one we are going to make forms even easier 🤗. Don’t believe it? Keep reading then and let me show you how. So without further ado lets begin.
You can follow the video guide here:
React Forms With Custom Hooks
There is nothing wrong with the way we created our forms and validated them. It is just that we wrote our forms as well as validations. It was a lot of code and for every form that’s a lot of work and boiler plate code to write. Now moving to a better and comfortable way to do forms.
Using React-Hook-Form
We are going to use npm package react-hook-form to build our light, super performant, easy to create, with better UX, and adaptable no matter what your application structure looks like. Let’s begin with installing the package
npm i react-hook-formOnce the package is installed we can create our simple form to see how powerful this package is
import { useForm } from "react-hook-form";

// your custom component
function CustomComponent() {
  const {
    register,
    handleSubmit,
    watch,
    formState: { errors },
  } = useForm();

  const onSubmit = (data) => {
  };

  return (
    <form onSubmit={handleSubmit(onSubmit)}>
      {/* register our input field with register function provided by the useForm hook */}
      <input placeholder="Enter your email" {...register("email")} />

      {/* basic validation in the second args */}
      <input
        placeholder="Enter your password"
        hidden
        {...register("password", { required: true })}
      />
      {/* show error is the field encounters one  */}
      {errors.password && <p>Password is required</p>}

      <input type="submit" />
    </form>
  );
}
We have the useForm hook by react-hook-forms and registered our DOM elements with it. Once that is done we applied some basic validation to our password field that is required. And finally, at the end conditional rendering of error if one occurs. Also provided the handleSubmit callback by useForm for easy submission of our form. That is it. No custom hooks of our own. SIMPLE RIGHT? 😎
Some finally touches with CSS on our form
.App {
  max-width: 600px;
  margin: 0 auto;
}

button[type="button"] {
  display: block;
  appearance: none;
  background: #ffd31e;
  color: white;
  border: none;
  text-transform: uppercase;
  padding: 10px 20px;
  border-radius: 4px;
}

hr {
  margin-top: 30px;
}

button {
  display: block;
  appearance: none;
  margin-top: 40px;
  border: 1px solid #ffd31e;
  margin-bottom: 20px;
  text-transform: uppercase;
  padding: 10px 20px;
  border-radius: 4px;
}
MOMENT OF TRUTH

Wrap Up
Easy, right? Well, I try to make all these articles catchy so that I have y’all’s attention till the very end. I like this one a lot, the reason being the amount of boilerplate code we get to avoid and make silky-smooth forms 😋. That’s all folks and this is not goodbye. See you in the next one.
💬 Leave a comment