Build a form validation engine using custom React Hooks, from scratch, without having to learn a single form library. Read on to learn how!
In part one, Simplify Forms using Custom React Hooks, we abstracted away all of the form event handler logic into a custom React Hook. As a result, the code in our form components was reduced by a significant amount.
After publishing last week’s tutorial, I had a number of readers ask how I’d use React Hooks to solve two common problems related to forms:
- Initializing the form values
- Validation
Therefore, I’ll be answering these questions in this tutorial. So, let’s begin learning how to initialize form values and handle form validation using React Hooks!
What We’re Building

We’ll be using the same project from part one. If you haven’t yet gone through the first tutorial on how to Simplify Forms with Custom React Hooks. Or, you can grab the full code and continue with this tutorial.
There’s plenty of form libraries available for React. They do a great job of simplifying your code. However, by using a library, you’re adding to the (already long) list of dependencies your project relies on.
Libraries are also opinionated. You have to learn how that library works, as well as its limitations.
The goal of this tutorial is to walk you through writing your own custom React Hook that handles form validation for you. We’re going to start with initialization.
Initializing the Form Values
Actually, handling form initialization doesn’t require our custom React Hook, useForm, but it’s still an important part of the validation process.
Start by opening up the original project in your text editor, open Form.js, and take a look at the HTML that’s being returned towards the bottom of the component, specifically the email input field:
<input
  className="input"
  type="email"
  name="email"
  onChange={handleChange}
  value={values.email}
  required
/>
Let’s take a closer look at the value attribute. We pass in the email key returned from the values object that’s stored in the useForm custom Hook.
In the React world, because we’re handling the input’s value ourselves, this means our email input field is a controlled input.
Well, not exactly.
The email input does become a controlled input, eventually, when we pass a real value to it.
When the Form component first renders, it initializes the useForm custom
const [values, setValues] = useState({});We’re initializing the values state to an empty object. As a result, when our Form component gets values.email, it doesn’t find it inside values and therefore is undefined.
So, our email input field starts off with a value of undefined, but when we type a value inside of the input, useForm finally sets the value of email inside of its state to be a non-undefined value.
That’s not great. What we’re doing is switching from an uncontrolled input to a controlled input.
We get a big error message from React for doing that. Bad developer, bad!
|| to the Rescue
We’ve all seen, and perhaps even used the operator above, ‘||‘, inside of a conditional statement. That’s right, it’s OR.
Therefore, we’re going to use the OR operator to set the default value of the email input, like so:
<input
  ...
  value={values.email || ''}
  ...
/>
I sometimes think it’s helpful to explain
In other words, we initialize the default value of the input to an empty string. I want to add that we’re not limited to using an empty string. If it’s a number input, we’d use 0, for example.
Setting Up Form Validation Using React Hooks
Now that we’ve tackled initializing the form values, let’s move on to extending our custom React Hook to handle form validation.
We need to do several things in order to validate a form:
- Define validation rules for the form
- Store any errors in a state variable
- Prevent the form from submitting if any errors exist
Defining the Validation Rules
Start by creating a new file for us to define rules for our email and password fields.
Each form will have a list of rules that are specific to its input fields, so name the new file something specific, like LoginFormValidationRules.js.
Add a single function called validate which takes one parameter, values, export it as the default value, and initialize a new object inside of the validate function called errors.
we’ll return the error object at the end of the function so we can enumerate over the errors inside of the useForm custom Hook.
export default function validate(values) {
  let errors = {};
  return errors;
};
Let’s add a validation rule for the email input field. The first rule, that’s likely going to apply to every required field in your form, will be to check that the value actually exists.
export default function validate(values) {
  let errors = {};
  if (!values.email) {
    errors.email = 'Email address is required';
  }
  return errors;
};
Because we’re building an object of errors, we actually check if the email value does not exist, and if so, then we add a new key to the error object called email.
For an email to be correct however, it has to be written in a specific way, Usually something@something.com.
How can we easily check that the email address is typed in the correct format?
I’m going to say a phrase that makes even the most hardened developer shudder with dread, but please, hear me out.
RegEx.
If you’re like me, you won’t ever learn how to write a regular expression, and instead search for one online like a normal developer. A great site is RegExLib.com, which has thousands of useful examples.
After the end of the first if clause, add an else if clause that tests the value of email against a regular expression.
export default function validate(values) {
  let errors = {};
  if (!values.email) {
    errors.email = 'Email address is required';
  } else if (!/\S+@\S+\.\S+/.test(values.email)) {
    errors.email = 'Email address is invalid';
  }
  return errors;
};
Great! We’ve now defined a list of form validation rules that can be plugged into any number of React Hooks, so let’s test them out. If you want to learn more about hooks in React check out this guide.
Using Form Validation Rules inside of React Hooks
Jump over to the Form component, inside Form.js. We initialize the useForm custom React Hook at the top of the component body. Let’s pass our validate function to the useForm Hook as the second parameter:
...

import validate from './LoginFormValidationRules';

const Form = () => {
  const {
    values,
    handleChange,
    handleSubmit,
  } = useForm(login, validate);

...
Next, head over to our custom React Hook, at useForm.js.
Add the new validate parameter inside of the useForm function’s parentheses:
...

const useForm = (callback, validate) => {

...
Remember, validate takes an object, values, and returns another object, errors.
For the Form component to display a list of errors, our useForm custom React Hook needs to store them in its state. Therefore, let’s declare a new useState Hook under values, called errors:
const [errors, setErrors] = useState({});Finally, when a user submits the form, we first want to check that there are no issues with any of their data before submitting it.
Change the handleSubmit function to call validate instead of callback, passing in the values stored in the Hook’s state.
const handleSubmit = (event) => {
  if (event) event.preventDefault();
  setErrors(validate(values));
};
Detecting Change in Errors State
We’re setting the errors state to the result of
Enter the useEffect Hook.
useEffect replaces the componentDidMount and componentDidUpdate lifecycle methods in React Class components.
Furthermore, by passing an array with a value inside as the second parameter to useEffect, we can tell that specific
Let’s add a useEffect Hook that listens to any changes to errors, checks the length of the object, and calls the callback function if the errors object is empty:
useEffect(() => {
  if (Object.keys(errors).length === 0) {
    callback();
  }
}, [errors]);
The
It took me a while to wrap my head around the naming of the useEffect Hook, but if you think about it like: “as a result (side effect) of [value] changing, do this”, it makes much more sense.
Preventing the Form from Submitting on Render
Before we move on to the final section, hooking up the form HTML to the errors, there’s a problem with the login function inside our Form component. It’s being called when the page loads.
This is because our useEffect Hook above is actually being run once when the component renders because the value of errors is initialized to an empty object.
Let’s fix this by adding one more state variable inside of our custom React Hook, called
...
const [values, setValues] = useState({});
const [errors, setErrors] = useState({});
const [isSubmitting, setIsSubmitting] = useState(false);
...
Then setIsSubmitting to true inside handleSubmit.
const handleSubmit = (event) => {
  if (event) event.preventDefault();
  setIsSubmitting(true);
  setErrors(validate(values));
};
Check that
useEffect(() => {
  if (Object.keys(errors).length === 0 && isSubmitting) {
    callback();
  }
}, [errors]);
Finally, return the errors object at the bottom of the Hook:
return {
  handleChange,
  handleSubmit,
  values,
  errors,
}
Your finished useForm Hook should now look like this:
import { useState, useEffect } from 'react';

const useForm = (callback, validate) => {

  const [values, setValues] = useState({});
  const [errors, setErrors] = useState({});
  const [isSubmitting, setIsSubmitting] = useState(false);

  useEffect(() => {
    if (Object.keys(errors).length === 0 && isSubmitting) {
      callback();
    }
  }, [errors]);

  const handleSubmit = (event) => {
    if (event) event.preventDefault();
    setErrors(validate(values));
    setIsSubmitting(true);
  };

  const handleChange = (event) => {
    event.persist();
    setValues(values => ({ ...values, [event.target.name]: event.target.value }));
  };

  return {
    handleChange,
    handleSubmit,
    values,
    errors,
  }
};

export default useForm;
Displaying Errors in the Form Component
Now our custom React Hook is saving a list of errors, let’s display them for our users to see. This is the final step to adding some proper form validation inside of any custom React Hooks.
First, make sure to add errors to the list of variables and functions we’re getting from useForm:
const {
...
  errors,
...
} = useForm(login, validate);
Bulma (the CSS framework we’re using) has some excellent form input classes that highlight inputs red.
Let’s make use of that class by checking if the errors object has a key that matches the input name, and if so, adds the is-danger class to the input’s className:
<div className="control">
  <input
    className={`input ${errors.email && 'is-danger'}`}
    type="email"
    name="email"
    onChange={handleChange}
    value={values.email || ''}
    required
  />
</div>
Finally, display the actual error message by adding an inline conditional below the input element to check again if the errors object has a key matching this input, and if so, displays the error message in red:
<div className="control">
  <input
    className={`input ${errors.email && 'is-danger'}`}
    type="email"
    name="email"
    onChange={handleChange}
    value={values.email || ''}
    required
  />
  {errors.email && (
    <p className="help is-danger">{errors.email}</p>
  )}
</div>
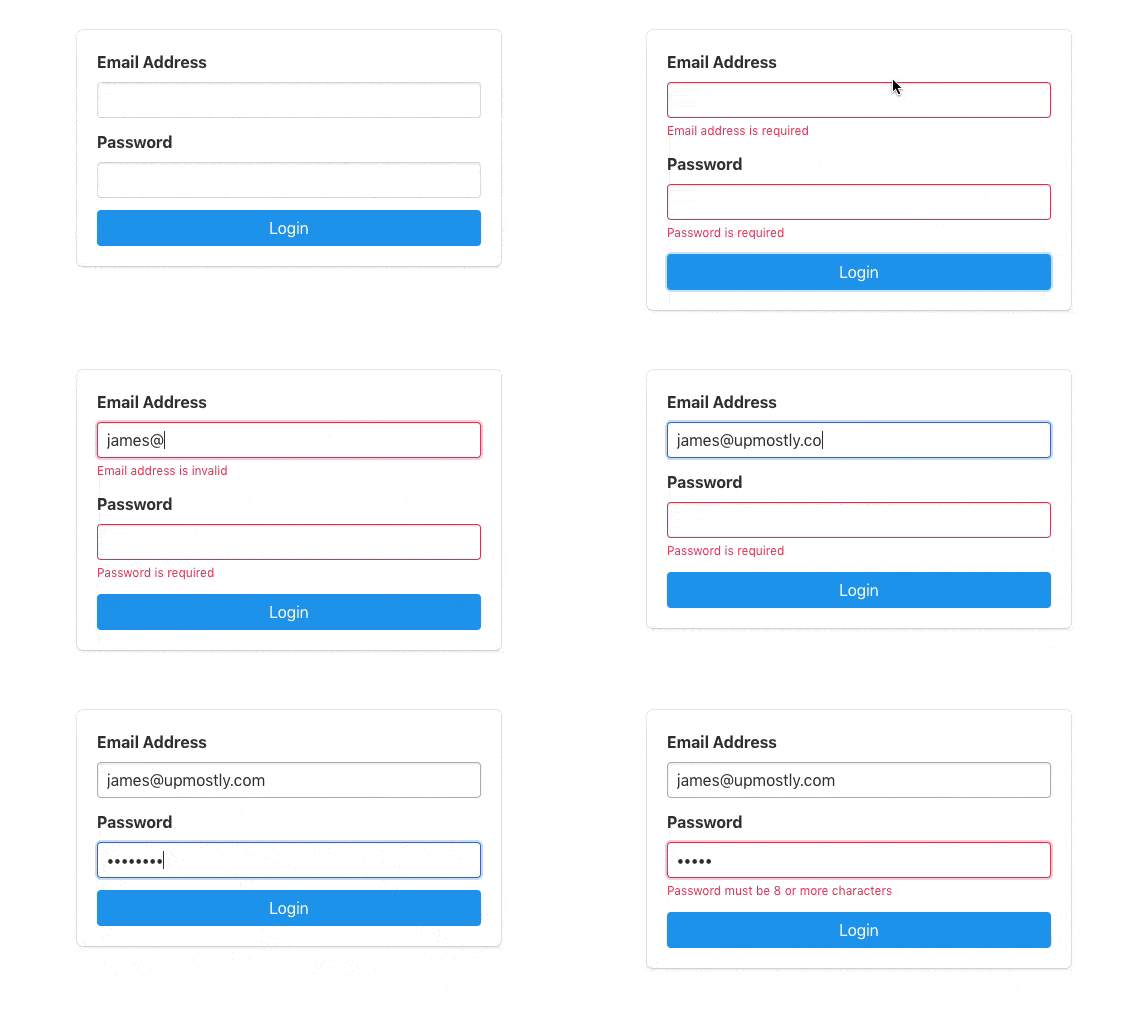
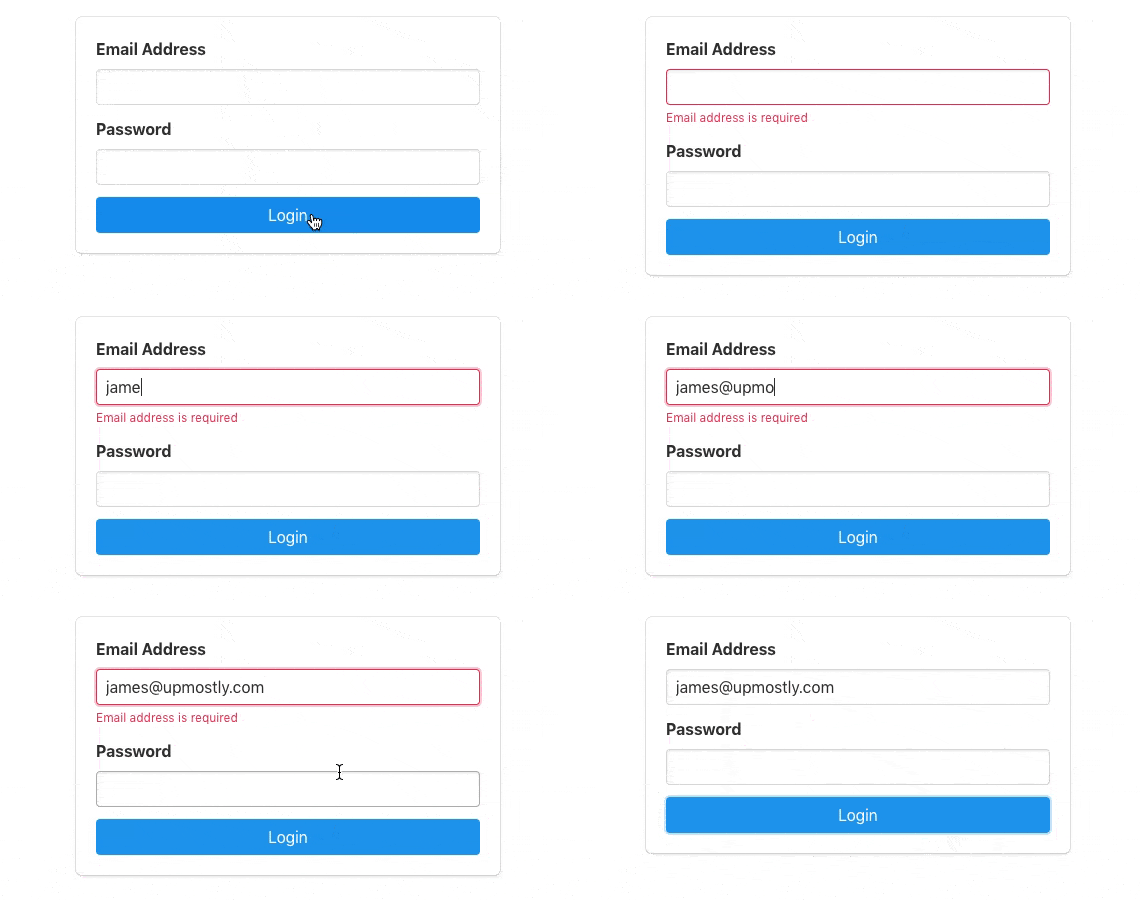
Save everything, jump on over to your app running in your browser (npm start in the project if you didn’t do so already) and take your new form for a test run!

Adding Additional Validation Rules
“Where’s the password validation?”, you might be thinking.
I’m going to leave that part for you to add. Homework as it were. If you want the solution, you can check out the entire code base for this tutorial.
Wrapping Up
So there you have it, form validation and initialization using custom React Hooks. As always, if you enjoyed the tutorial, please leave a message in the discussion below.
If you have any issues or questions, leave a comment below or hit me up on Twitter. It’d be my pleasure to help. Peace!
Additional Reading
- Using Custom React Hooks to Simplify Forms
- Simple Introduction to React Hooks
- How to Use the useContext Hook in React
💬 Leave a comment