
What if our web application contains a list element, and we’d like to add new items to the list as we click a button? React has the perfect answer.
In this tutorial, we’ll learn how to create a component and display it to the screen on a button click. This is useful for all sorts of applications and is a use case where React really shines due to its streamlined architecture.
Let’s get started!
Setup
Set up your web app with create-react-app, which will automatically create some files referenced in this tutorial for you. This is the only dependency we’ll be using in this tutorial:
npx create-react-app app
cd app
npm start
Building Out the Basic Structure
Let’s start with the basics, which in this case is creating a button that fires a function when clicked. Let’s create a file Button.js:
/* Write a button component */

import React from 'react';

const Button = (props) => {

  return (

    <button>{props.text}</button>

  );

}

export {Button};
Next, we will write our modular component, that is, the component that will get added to the screen whenever the button is clicked. We’ll call it ListComponent and write it in a file ListComponent.js:
import React from 'react';

const ListComponent = (props) => {

  return (

    <div>

      <h1>{props.text}</h1>

    </div>

  );

};

export {ListComponent};
We use props to determine the function that gets called when the onClick event fires, and the text within the button. We do this also for the ListComponent’s inner text.
This means that we have to set these attributes in the function that calls Button, App.js:
import { Button } from './Button.js';
import { ListComponent } from './ListComponent.js';

function App() {

  function addComponent() {

  }

  return (

    <div>

      <Button onClick={addComponent} text="Call Component"/>
      <ListComponent text="Sample Component"/>

    </div>

  )

}

export default App;
We get the following render in the window:

This looks nothing like the component adding modules you could see in today’s web apps, so let’s make some display changes before we proceed.
We’ll add two CSS classes, one for the button and the other for the modular component. In the App.css file created for us by create-react-app:
.AddButton {

    font-size: 15px;
    font-family: Arial, Helvetica, sans-serif;
    text-align: center;
    background-color: gray;
    border-radius: 15px;
    padding: 10px;
    margin: 10px;

}

.Component {

    color: white;
    font-size: 15px;
    font-family: Arial, Helvetica, sans-serif;
    text-align: center;
    background-color: darkblue;
    border-radius: 15px;
    padding: 10px;
    margin: 10px;

}
Now, we have to update the className attribute for both our button and modular component. In Button.js:
/* Write a button component */

import React from 'react';

const Button = (props) => {

  return (

    <button className="AddButton" onClick={props.onClick}>{props.text}</button>

  );

}

export {Button};
And in ListComponent.js:
import React from 'react';

const ListComponent = (props) => {

  return (

    <div className="Component">

      <h1>{props.text}</h1>

    </div>

  );

};

export {ListComponent};
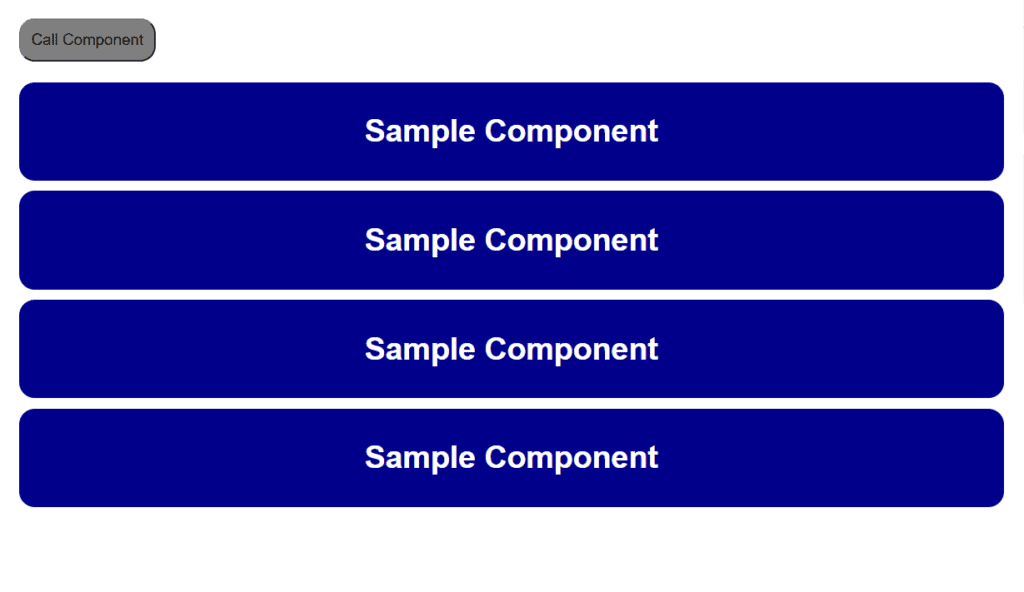
We now get the following render:

This suits our use case a bit more, so let’s move forward!
Adding Components on Button Click
It’s time to implement the creation of new elements when we click the ‘Call Component’ button.
We’ll start in App.js:
import { useState } from 'react';
import { Button } from './Button.js';
import { ListComponent } from './ListComponent.js';

function App() {

  const [components, setComponents] = useState(["Sample Component"]);

  function addComponent() {

    setComponents([...components, "Sample Component"])

  }

  return (

    <div>

      <Button onClick={addComponent} text="Call Component"/>
      {components.map((item, i) => ( <ListComponent text={item} /> ))}

    </div>

  )

}

export default App;
We’ve made a few changes to the element in the code above.
First, we import useState(), which will help us to always re-render the page when we add new components.
We use useState() when setting the components and setComponents variables, so that whenever we change the components in the array, the component will re-render itself.
We next define the addComponent function, which uses setComponents() to append a new string to the components array. We do this by writing ‘…components’, which copies the values of the current components array into the new one, and add another string, “Sample Component”, to the new array.
Finally, perhaps the most important addition is the map function used in our return statement. We use components.map, which allows us to take each value in our components array and convert it into a rendered element on the screen. To learn more about the map function check out this guide.
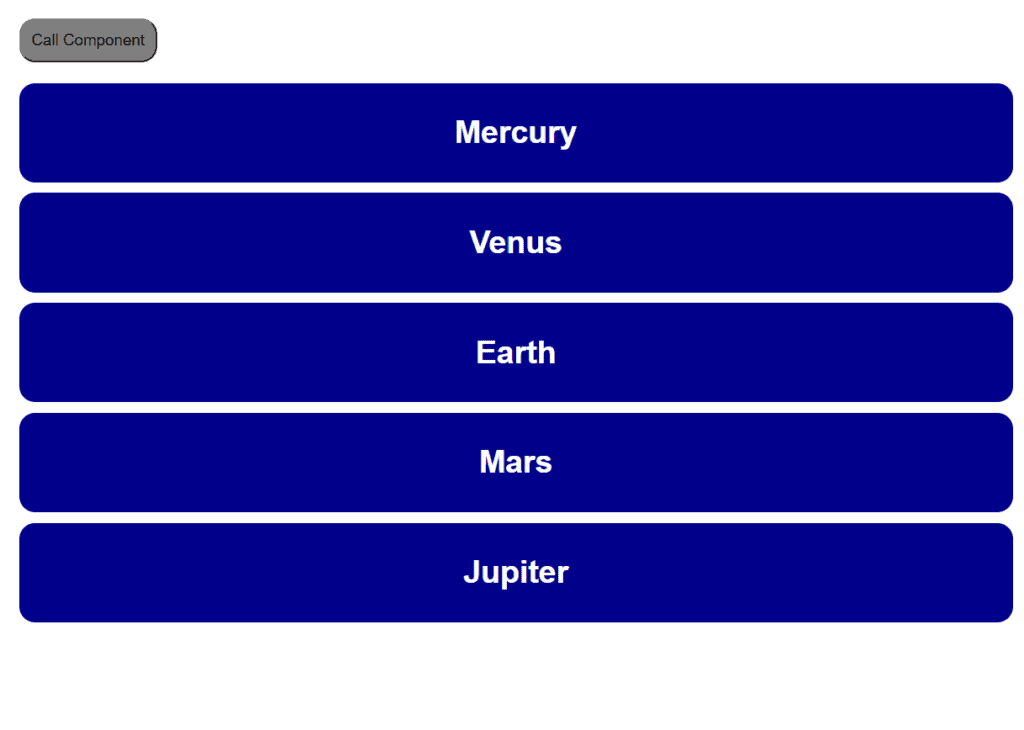
In this case, we map each item (which is a string) to a ListComponent that uses the item as its inner text. We get the following output on the screen:
It worked! After clicking the ‘Call Component’ button three times, we end up having four components on the screen (including the one we started off with). They pop up dynamically just as we want them to.
Creating Pre-Set Additions
We’ll notice that each of the elements we created above has the same inner text, “Sample Component”. As proof of concept, we’ll now change this so that each component gets its own unique name.
For this, we’ll pre-set the future component’s values.
Back in App.js, we will set our components to be the names of all the planets in the solar system, in order:
import { useState } from 'react';
import { Button } from './Button.js';
import { ListComponent } from './ListComponent.js';

function App() {

  const [components, setComponents] = useState(["Mercury"]);
  const [componentNames, setComponentNames] = useState([ 'Venus', 'Earth', 'Mars', 'Jupiter', 'Saturn', 'Uranus', 'Neptune' ]);

  function addComponent() {

    if (componentNames.length > 0) {

      setComponents([...components, componentNames[0]]);
      componentNames.splice(0, 1);

    } else {

      window.alert("No more planets to add!");

    }

  }

  return (

    <div>

      <Button onClick={addComponent} text="Call Component"/>
      {components.map((item, i) => ( <ListComponent text={item} /> ))}

    </div>

  )

}

export default App;
We add a new useState with the variables componentNames and setComponentNames. We set this to the names of all the planets in the solar system, excluding Mercury, which we start off with in the ‘components’ variable.
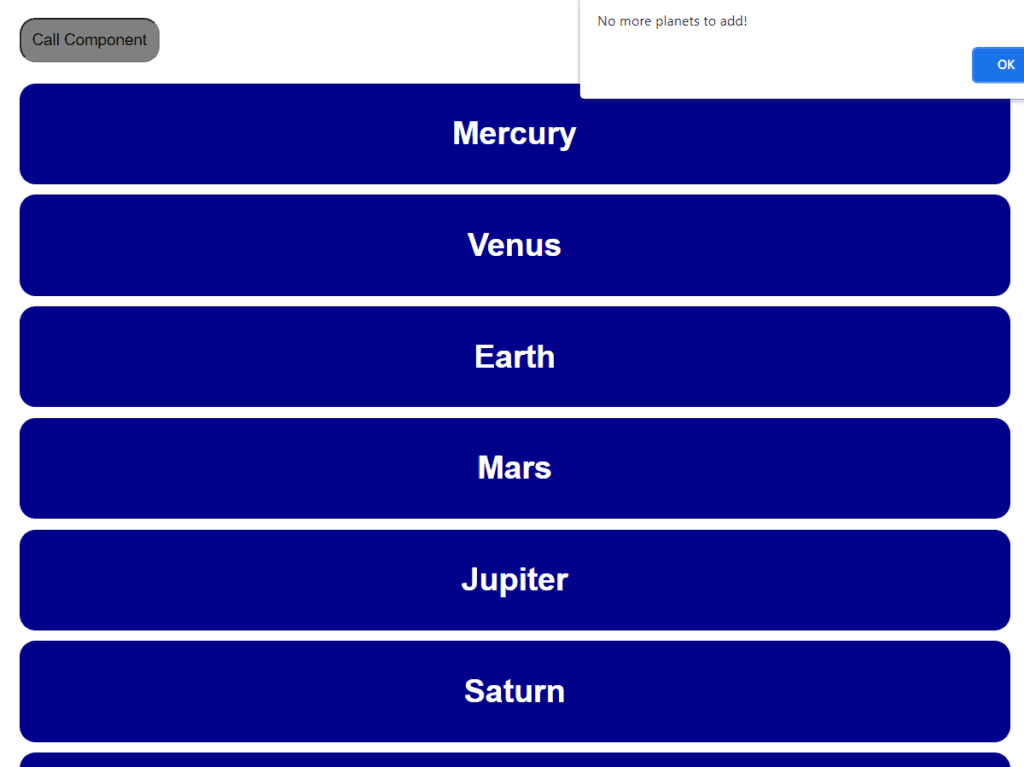
Next, we make changes to our addComponent() function. We first check to see if there are any planets left to render — if not, we send a message to the user via window.alert(), telling them that they’ve already added all the planets.
If there are indeed planets left to render, we use setComponents to append the next planet name to the array of component labels. After doing so, we use .splice() to get rid of the first element in the array, so that we can get the next one during the next time the user clicks the button.
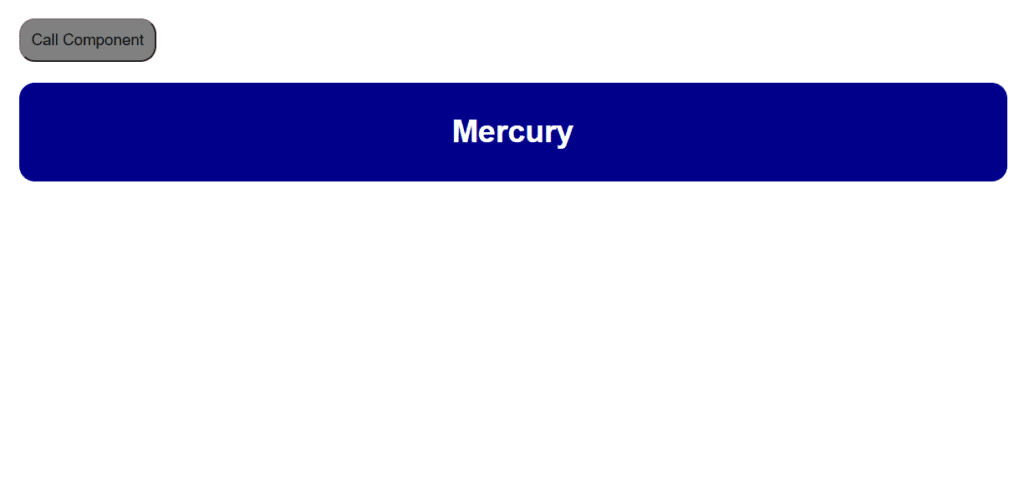
We get the following render:
That’s it for this article! I hope you can now implement your own calling of React components on a button click.
If you have any questions or comments, please don’t hesitate to leave them below.
💬 Leave a comment