
While basic text, shapes, and colors are great, we often need more in our web apps.
Images are much more complex arrangements of text, shapes, and color, and can add a lot to your React app. In this article, we’ll learn how to use them.
To use images in React, we use the style attribute backgroundImage. When added to a React component, backgroundImage displays an image to fill a specified portion of the element (or the whole element).
Since React components are modular and easily configurable, background images in React are as well.
To set backgroundImage, we use URLs to determine the image. These URLs can take several forms, and we will discuss them in this article.
We’ll also learn how to do several operations to manipulate background image placement and display.
Table of Contents
React Background Image Example
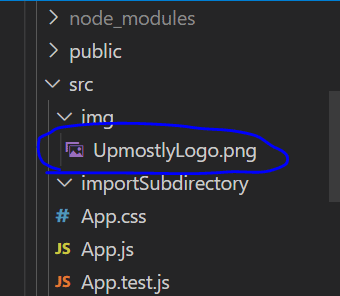
We’ll start with a simple example of a background image within a React element. We want to display the following image of the Upmostly logo:

Within a React component. The image is located in the directory as follows:
Let’s try displaying the image using the simplest way possible:
import image from "./img/UpmostlyLogo.png";

function Component() {
  return (
    <div style={{ backgroundImage:`url(${image})` }}>
      Hello World
    </div>
  );
}

export { Component };
This component renders the following output:

In this example, we first ‘import image’ from the path of the image we want to use. This allows the file to reference the image.
To add the image to the component, we use backgroundImage. We set backgroundImage to the image we specified above.
Notice that we convert the image to a URL with url(). url() is used to include a file within a CSS style (complete reference here). url() needs to be one string, so we concatenate it to the image variable.
However, as we can see, the output may not be what we wanted. Many Upmostly logos get rendered, and they are all cut off so that we can only see the top of them.
By default, background images in React are set to completely fill the bounds of the component, maintaining their original size. Since they are maintaining their original size, images duplicate and crop themselves in order to fully fill the component’s space.
We need to modify the background image’s settings so that it displays what we want it to.
Manipulating backgroundImage
Fundamentally, React’s backgroundImage is the same as CSS’s ‘background-image’. All CSS ‘background-image’ manipulations will work with React (a complete reference can be found here).
Let’s first remove all extra copies of the image; we only want one Upmostly logo to show on the screen. To do this, we set the backgroundRepeat property:
import image from "./img/UpmostlyLogo.png";

function Component() {
  return (
    <div style={{ backgroundImage:`url(${image})`,backgroundRepeat:"no-repeat" }}>
      Hello World
    </div>
  );
}

export { Component };
The only thing we’ve changed is we’ve set backgroundRepeat to ‘no-repeat’. The following gets rendered:

Now we only have one background image. However, it’s still cut off so that only the top is visible.
This is because the image’s height is greater than the height of the component. Only the piece of the image that overlaps with the component is rendered.
To solve this problem, we will fit the image to the React component:
import image from "./img/UpmostlyLogo.png";

function Component() {
  return (
    <div style={{ backgroundImage:`url(${image})`,backgroundRepeat:"no-repeat",backgroundSize:"contain" }}>
      Hello World
    </div>
  );
}

export { Component };
All we did was add “backgroundSize: ‘contain’ ” to the div’s styles. This code renders the below:

That’s really small, so we’ll now increase the size of the React component. This is really easy and straightforward; all we have to do is add a few more styles:
import image from "./img/UpmostlyLogo.png";

function Component() {
  return (
    <div style={{ backgroundImage:`url(${image})`,backgroundRepeat:"no-repeat",backgroundSize:"contain",
    height:600,width:600
    }}>
      Hello World
    </div>
  );
}

export { Component };
In the div’s styles, we set height and width to ‘600px’ each. The code renders the following:

From here, we can make the background image as big or small as we’d like.
Getting Background Images from Other Sources
We now know how to use React’s backgroundImage with images within the ‘src/’ directory, but what if we want to use images outside the ‘src/’ directory, or from the cloud?
‘Create-react-app‘ generates another folder alongside ‘src/’, ‘public/’. We can store images here and render them through backgroundImage.
When using an image from the ‘public/’ directory, we don’t have to do the import step we did in the first example. Instead, we can reference the image directly.
With the following directory setup:
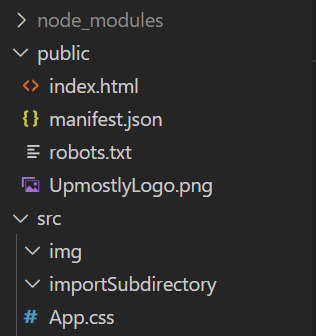
We can reference the image directly:
function Component() {
  return (
    <div style={{backgroundImage:"url(/UpmostlyLogo.png)"}}>
      Hello World
    </div>
  );
}

export { Component };
The only thing we’ve changed from the last example is the referencing of “UpmostlyLogo.png”. This time, we set backgroundImage to ‘url(/UpmostlyLogo.png)’, referencing the image from the ‘public/’ directory as if it was in the same folder as our React component.
We get the same output:

We can also pull images for backgroundImage from the cloud. All we need is an image URL that we can access.
AWS S3 is a file storage service that can store images and generate usable URLs for them. While using S3 and the necessary callbacks is beyond the scope of this article, we will use an image URL for the following example.
The following example is taken from a functioning web app. We pull the necessary URLs from S3, and use them to set the background images of our components. We’ll also log the URLs of the images we pull to the console:
console.log("URL set:", pulled_image_url)The same URL gets passed into the component below’s render() method:
render() {

    return(

        // Handle data transfer through drag and drop.
        <div>
            <div>
                {this.name}
            </div>
        </div>

    )

}
The above code generates the following output:
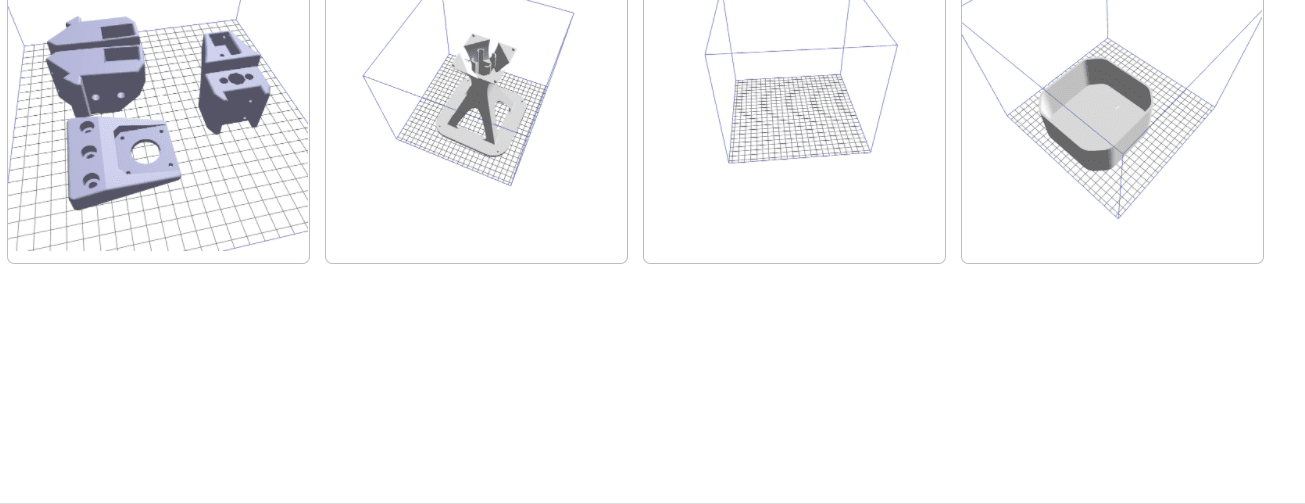
We can see the image URLs in the console:
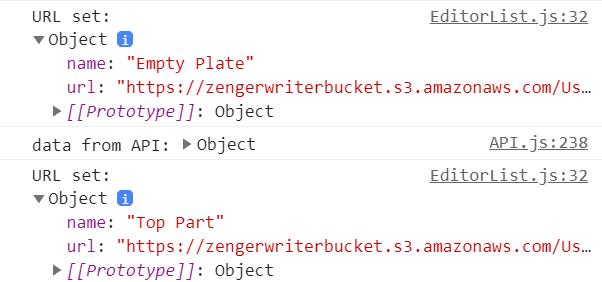
As we can see in the URLs displayed above, we successfully displayed an image from the cloud.
That’s it for backgroundImage in React. If you have any questions or comments, please don’t hesitate to leave them below!
You may also be interested in our tutorial on Changing the Background Color in React.
💬 Leave a comment