Have you ever found the process of deploying your applications a little bit tricky? This won’t be a problem for you anymore. With the Netlify drag and drop feature, you can deploy it in less than 60 seconds. Let’s take a look at how it’s done.
Netlify account
The first step is to get yourself the free Netlify account. If you already have a GitHub account then you can use that to log in. Head over to the login page.
Once you have access to the dashboard head over to the Sites section.

Scroll to the very bottom of the page until you stop at the drag and drop section.

React app
From the root directory of your React project run the
$ npm run build
to create the build directory of with the production build of your project. You can see this new folder appear in your file structure.
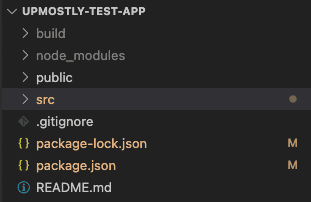
Now all you have to do to deploy your application is to drag the newly created directory and drop in the Netlify dashboard.
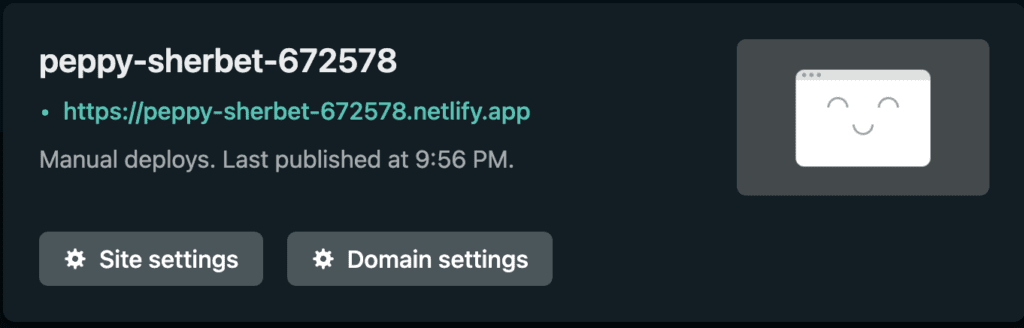
30 seconds later you should see this little card appear at the top of the page. Click on the green link to access your application.

Which is exactly what we were supposed to see. It matches what we have coded in App.js.
const App = () => {

  return (
    <div style={{ margin: '50px' }}>
      <h1>Hello Upmostly!</h1>
    </div>
  )
}

export default App;
💬 Leave a comment