Learn how to deploy a React app to Heroku for free. We’ll cover how to deploy a Create React App to Heroku using
TL;DR
git init
heroku create -b https://github.com/mars/create-react-app-buildpack.git
git add .
git commit -m "react-create-app on Heroku"
git push heroku master
heroku open
You finished building your React app. You tested it locally and it works great, and now you’re ready to show it to the world.
Now what
Deploying a React app is more complicated than hosting a basic HTML page. Technically, there’s not much difference. However, if you’ve used Create React App, there’s some steps to get from running locally to deployed on the cloud.
There’s also so many options for deploying your React app: AWS, Google Cloud, DigitalOcean…the list is endless!
I’m going to show you exactly how to deploy your React app to Heroku in minutes for free.
Create a Free Heroku Account
Start by creating a new Heroku account (if you haven’t already).
The great thing about Heroku is that you don’t need to provide a credit card when you sign up. It’s completely free, and they only ask for your credit card when you want to upgrade your servers.
Download the Heroku CLI
After signing in to Heroku, you’ll want to grab the Heroku CLI. There’s some very handy documentation of how to install it for each operating system.
Once you’re done installing the Heroku CLI, open a new terminal window and run the following:
heroku --versionYou should see heroku/x.y.z as the result. If not, follow the instructions in the Heroku CLI help documentation.
Finally, login to your Heroku account inside the CLI by running the following:
heroku loginGreat! Now stop here.
If you’re following the documentation on the Heroku site, it’ll tell you to create a new Heroku app. We’re not going to do that. Instead, we’ll use the Create React App Heroku Buildpack.
Buildpacks are specific to Heroku. They are packages of scripts that do things like generate assets and install dependencies. They simplify the whole process and make it really easy to deploy a new react app to Heroku.
The end result is a pre-packaged copy of your project, ready to be deployed to a Heroku dyno.
Setup a new React App with Create React App
Go to the Create React App Github repository page and follow the instructions on setting up a new React project.
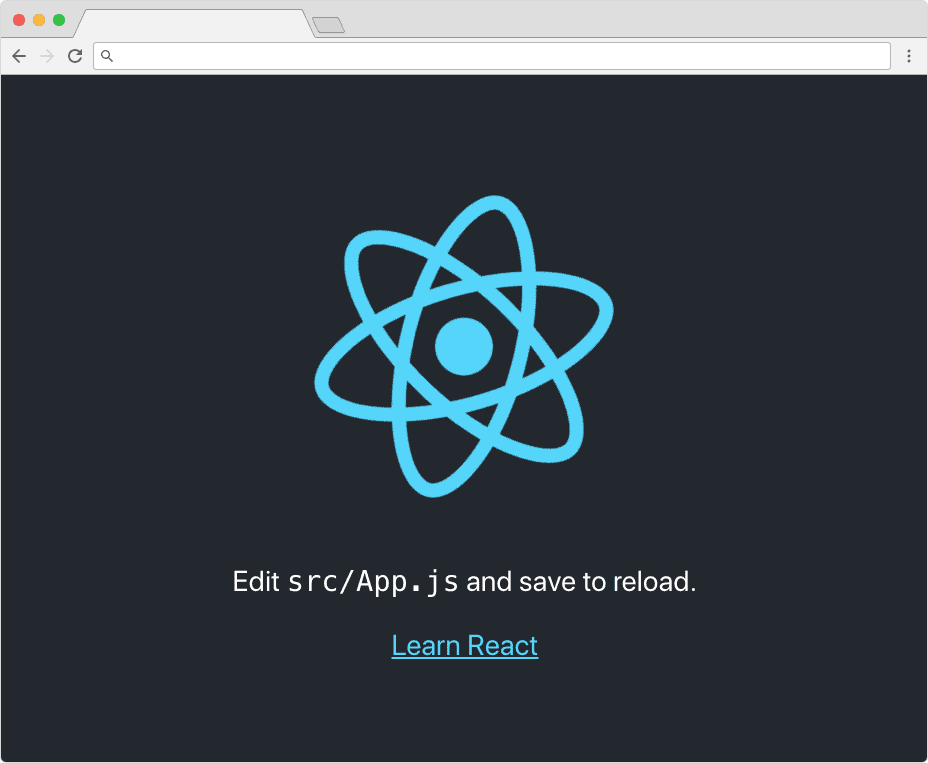
Come back here when you have the base app up and running. It should look something like this:

Deploying your React App to Heroku
Now all we have to do is jump back to your terminal window and run the following inside your React app directory.
git init
heroku create -b https://github.com/mars/create-react-app-buildpack.git
git add .
git commit -m "react-create-app on Heroku"
git push heroku master
heroku open
Congratulations! You have now successfully deployed your React application on Heroku!
💬 Leave a comment