Publishing your Next.js app can sometimes be a pain. One of the key benefits of using the Next.JS framework to create your website is how straightforward it can make deployment, abstracting away the usual difficulties, and providing a free, easy to use hosting solution through Vercel.
What is Vercel?
This tutorial is assuming that you are familiar with Next.js, so if you aren’t, feel free to take a look at this introduction to the framework.
Vercel is a hosting solution by the creators of Next.js. You can deploy a web app using many frameworks with Vercel, however being from the same creators, publishing a Next.js app through Vercel is a streamlined and simple experience.
Git Deployment
The first step is to publish your code remotely to GitHub. If you’ve created your app through the conventional create-next-app method, then you should already have a local git repository for your app. If you already have a remote repository for your app, you can go ahead and skip this step.
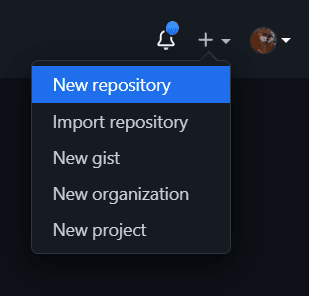
After logging in to your GitHub account, click the menu in the top right to create a new repository, or simply head here.
You can then proceed to create your new repository.
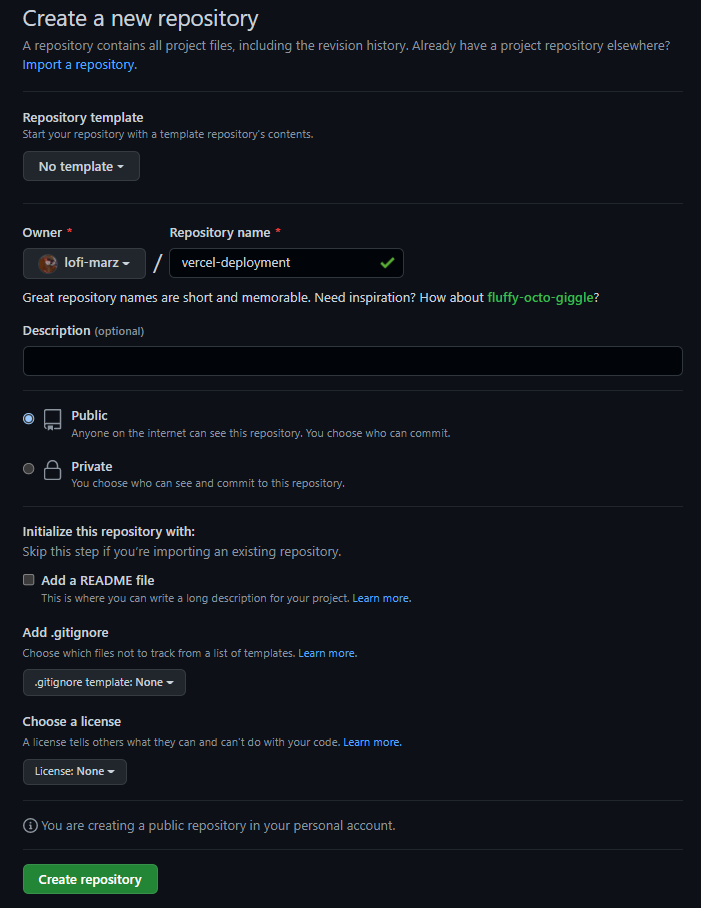
Make sure not to create the repository with any template, and without a .gitignore, license, or a README file. We want to keep the remote repository empty, to avoid any issues with pushing our code up to it.
Then open a console window, head to the root directory of your Next.js project, and enter the following commands:
git remote add origin https://github.com//.git
git branch -M main
git push -u origin main
If you head back to the GitHub page for your repository, you should now see your changes have been pushed up to the remote repository, congratulations!
Deploying to Vercel
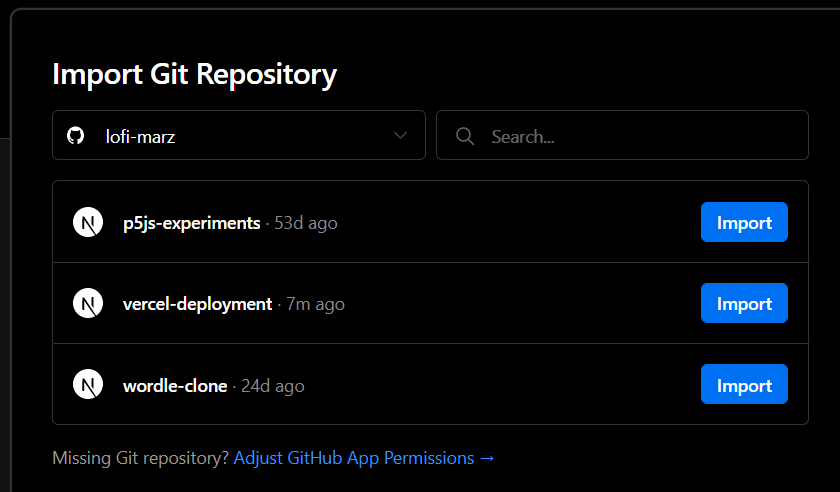
To get started with Vercel, head to their website and create an account. You can then begin importing your Next.js app here. You’ll have to install Vercel to your GitHub account, and allow access to your GitHub repositories. You should then see your project in the list, ready to import.
On the import screen, you should be able to leave all of the options at their default settings, as Vercel will automatically detect the correct options for your Next.js app. Then, just hit deploy! After about a minute or so, your Next.js app should be deployed, and you should be greeted with this screen:
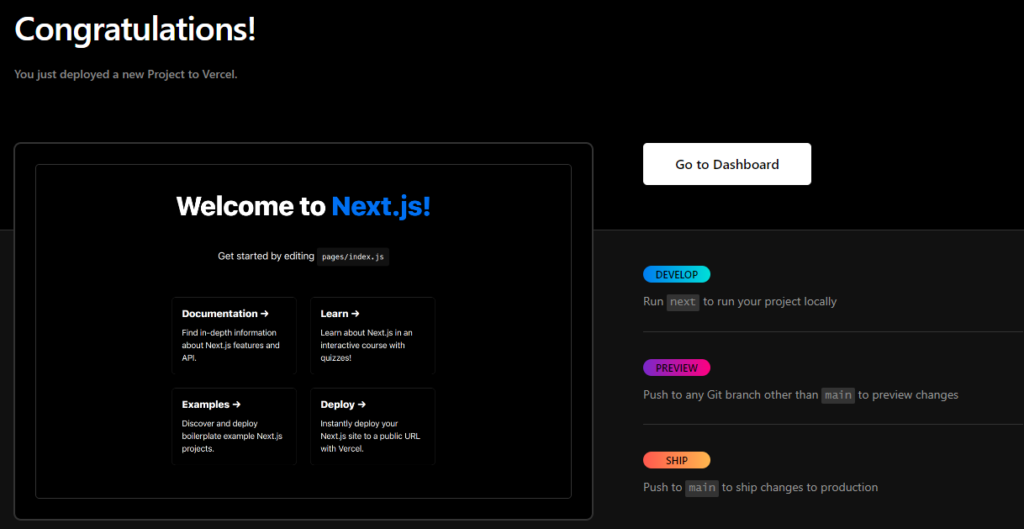
Head to the dashboard to check the new domain Vercel has hosted your web app at. Vercel may choose a random variation of your project name for your domain.
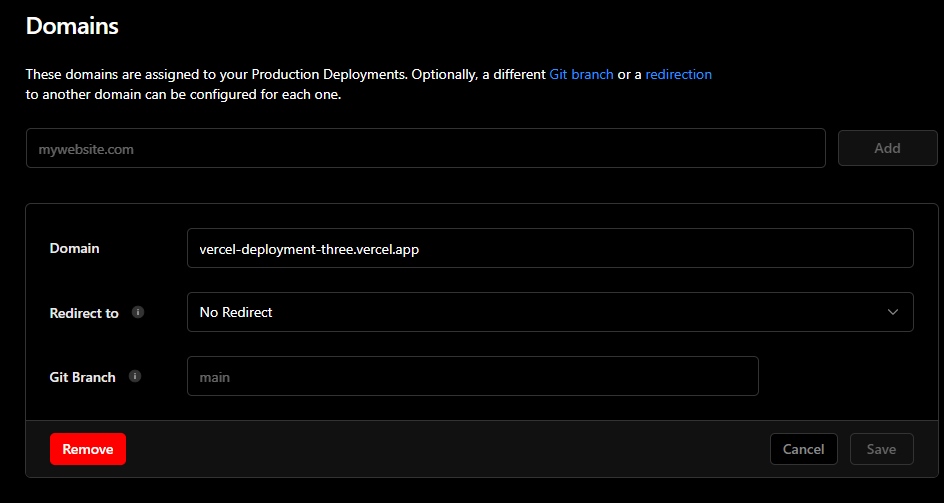
If you’re unhappy with this, you can edit the selected domain in the settings for your deployment. Make sure to keep it to some variation of <yourapp>.vercel.app, and save your changes.
Whenever you want to update your Vercel deployment, simply commit and push your changes, and your remote deployment should reflect these within a few minutes!
Thanks for reading, hopefully your Next.js web app is now successfully deployed! Feel free to leave a comment below if you liked this article, or if you have any queries or suggestions!
💬 Leave a comment