Environment variables are variables passed to your app when it starts. They’re called so because they’re part of the environment your app will run in. They’re useful for things like telling your application if it’s running in production or development mode, or passing in values like API tokens or API URLs. If you’re looking to use them in your React app, we have an article for that here.
One way to pass in environment variables is when running your app:
NODE_ENV=development MY_AGE=22 npm run devBut, a common way to configure these values is with “.env” files. Here’s an example:
# .env
NODE_ENV=development
MY_AGE=22
If you have any .env files in your project, Next.js will automatically detect them and load them in:
In your Next.js app, you can access these under “process.env”:
One key aspect to make note of is that because of the way Next.js loads in your environment variables, “process.env” isn’t a normal object. This means you can’t access your environment variables with destructuring:
    const API_KEY = process.env.API_KEY; //✔️
    const { API_KEY } = process.env; //❌
While you can modify these environment variables to be accessible on the client, for now let’s talk about how to access these through the server.
The best way to access these variables is in one of the Next.js pre-rendering functions, getStaticProps or getServerSideProps. Let’s use a common example of using a .env file to manage API access.
I’ll be using PokeAPI for this, a very useful API for retrieving Pokemon data, and building a simple app just to display the result of fetching the data for a single pokemon.
Front-End
Firstly here’s the code for the front-end of our app. Here’s the types for our pokemon just for reference:
//What we get back
type SinglePokemonResponse = {
    name: string;
    sprites: {
        front_default: string;
    };
    types: { slot: number; type: { name: string } }[];
};

//What we're rearranging it to for the props
type Pokemon = {
    name: string;
    sprite: string;
    types: { slot: number; type: { name: string } }[];
};
And here’s our page component:
export default function Env({ pokemon }: { pokemon: Pokemon }) {
    const { name, sprite, types } = pokemon;
    return (
        <div className="flex h-screen w-full items-center justify-center bg-stone-900 text-white">
            <div className="flex flex-col items-center justify-center rounded bg-stone-800 p-10 shadow-2xl">
                <h1 className="text-6xl font-bold capitalize">{name}</h1>
                <Image
                    src={sprite}
                    alt={`${name} sprite`}
                    width={300}
                    height={300}
                />
                <div className="text-4xl capitalize">{`${types[0].type.name}${
                    types.length > 1 ? ' ' + types[1].type.name : ''
                }`}</div>
            </div>
        </div>
    );
}
I’m using TailwindCSS to handle all of the styling for our app, which is what you can see in the class names.
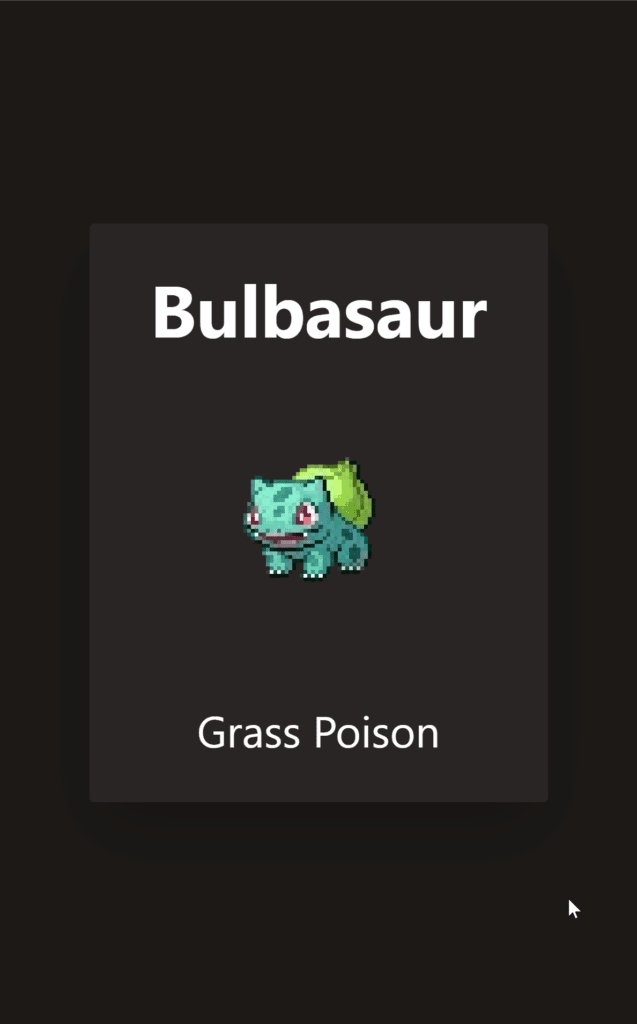
We’re not actually fetching any data yet, but here’s what our app will look like in the end:
That’s the front-end side done, lets take a look at how we use our environment variables to create our API call:
A Change Of Environment
I’m storing my values in “.env.local”. Next.js supports a few different suffixes for your .env files and will manage them differently, but for now all you need to know is that .local is intended for the variables you want to store locally on your machine.
# .env.local
API_URL=https://pokeapi.co/api/v2/pokemon
SECRET_FAVOURITE_POKEMON=bulbasaur
Then Next.js loads these in automatically, and we can load them in getServerSideProps():
const API_URL = process.env.API_URL || 'https://pokeapi.co/api/v2';
const FAVOURITE_POKEMON = process.env.SECRET_FAVOURITE_POKEMON || 'ditto';

export const getServerSideProps: GetServerSideProps = async () => {
    const pokemon = await axios
        .get<SinglePokemonResponse>(API_URL + '/' + FAVOURITE_POKEMON)
        .then(({ data: { name, sprites, types } }) => {
            return {
                name,
                sprite: sprites.front_default,
                types,
            };
        });
    return { props: { pokemon } };
};
In our Axios method, I’m using our environment variables to put together the actual path for the API call. In a real app, this could be something like using localhost for the dev environment and switching that to a real server in production, or keeping an API key secret by keeping it local to my machine, instead of hard coding it in the app.
Different Environments
Next.js supports multiple .env files, and will give priority to some over others depending on the environment.
Firstly Next.js checks NODE_ENV to see if it’s set to “production”, “development” or “testing”
If your environment is set to “testing” Next.js will load:
- .env.test.local
- .env.test
- .env
And any other .env files won’t be included
If your environment is set to “production” or “development” Next.js checks for your files in this order:
- .env.development.local or .env.production.local
- env.local
- .env.development or .env.production
- .env
If a variable is defined in multiple files, the one in the .env file with the higher priority will be used.
It’s a good idea to use the “.local” versions for any values you want to be exclusive to your environment, like api keys, and to add these to your “.gitignore” if you’re using Git. The non-local versions can be used for default values, and values you don’t care about keeping secret.
Let’s test this out with some different .env files:
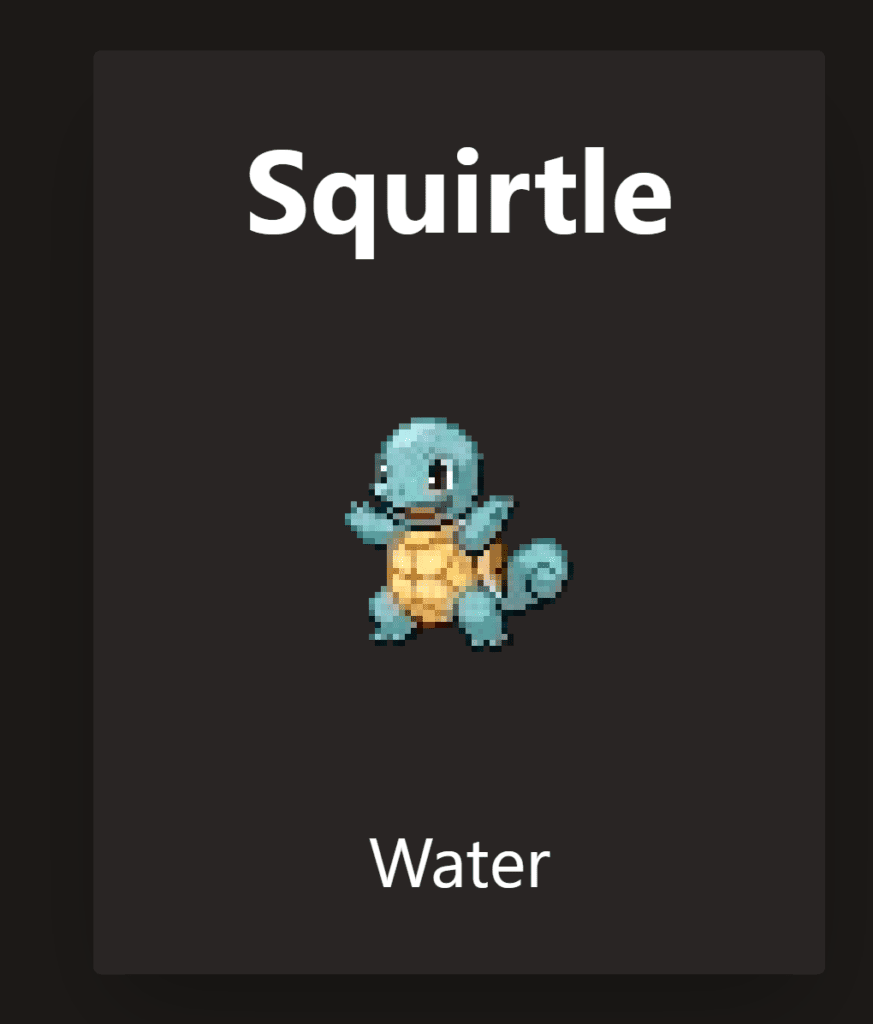
# .env.production.local
API_URL=https://pokeapi.co/api/v2/pokemon
SECRET_FAVOURITE_POKEMON=charmander
# .env.development.local
API_URL=https://pokeapi.co/api/v2/pokemon
SECRET_FAVOURITE_POKEMON=charmander
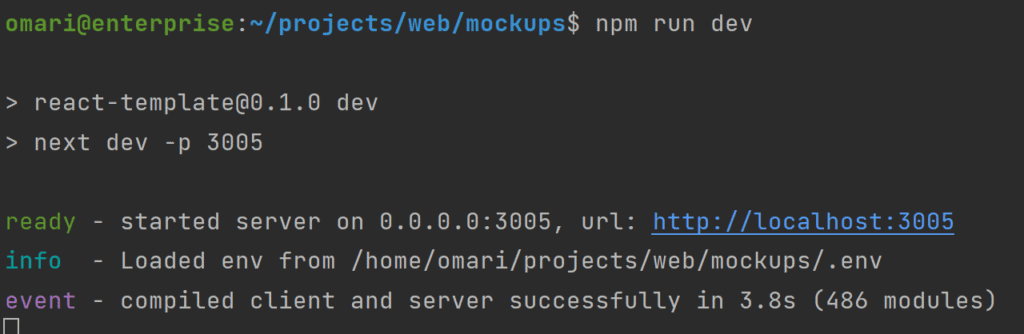
Starting my app with “npm run dev”, Next.js sets your environment to “development”, so we get .env.development.local loaded:

Notice how it loads .env.development.local first, since this takes priority over .env.local
And we get the pokemon we expect to be loaded:
Similarly “npm run start” means Next.js runs our app as a production build. So running that we can see Next.js loads in the production .env:
And we can see the correct pokemon gets loaded in:
Conclusion
That’s all! Environment files are a very useful approach for storing configuration, secrets, or any values in Next.js apps, so hopefully, I’ve helped you out here. If you liked this article, feel free to leave a comment below!
💬 Leave a comment