Environment variables allow you to define values on a system-wide level so you can make use of them in the code of your website thus allowing you to avoid the hassle of where to put them in your code. It also keeps your sensitive data separated from your code along with little production level mistakes.
Here we will learn how to inject and utilise environment variables in our ReactJS application.
Check out our full video walkthrough:
First create a new react application in vs code or any other IDE, I personally prefer VS Code.
Create .env at root directory
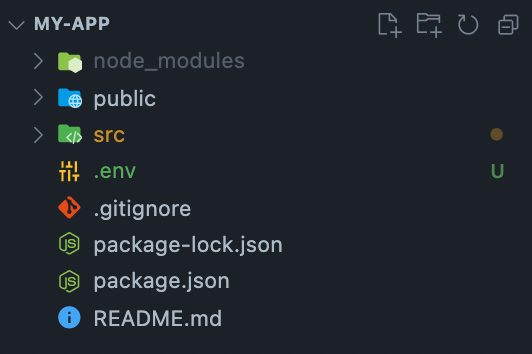
We start by creating a .env file at the root directory of our application as:

Adding variables
Now we add environment variables in our .env file as:
REACT_APP_BASE_URL=https://upmostly.com
REACT_APP_PORT=3000
REACT_APP_SOME_OTHER_VARIABLE=someothervariable
Now we have to be careful with our naming convention of our variables as react only allows variables beginning with REACT_APP to be considered when your application is trying to access the environment variables and it does this to avoid any collision of system variables and exposing them.
- Make sure to RESTART your application when you add/update any environment variables.
- DO NOT store any private keys in environment since the environment variables are embedded into the build allowing them to be accessible when inspected.
- Add your .env to .gitignore, trust me you don’t want to commit it.
- You can embed your .env on your hosting machine.
Consuming environment variables
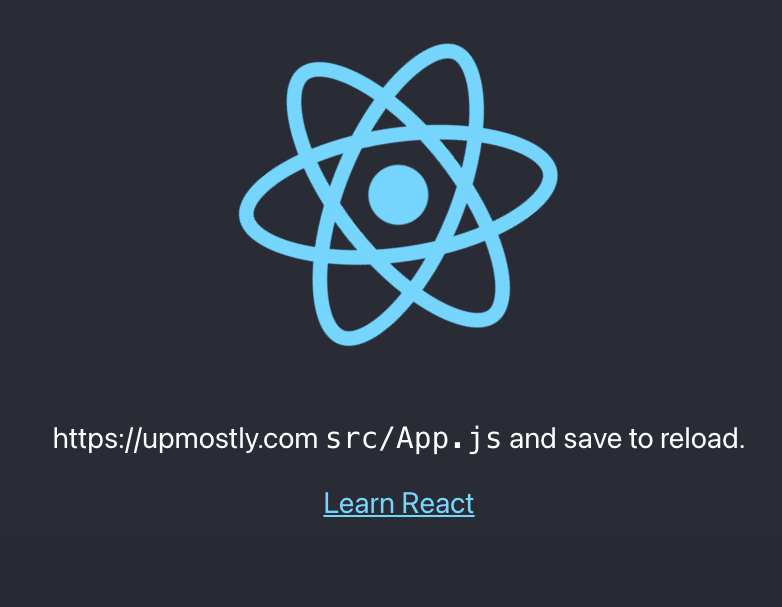
Once all of the above steps are completed, you can access the environment variables as:
        <p>
          {process.env.REACT_APP_BASE_URL} <code>src/App.js</code> and save               to reload.
        </p>
and BOB’S YOUR UNCLE 🚀🚀🚀

Wrap up
I hope you learned how to use environment variables in your reactJS application and the TODOS and NOT TO DO while using them.
You can also take a look at using environment variables in your nextJS application.
Here is a reference to official docs:
Create React App Environment Variables
💬 Leave a comment