Event handling is an essential aspect of modern web development, enabling interactive user interfaces and dynamic content updates. However, ensuring type safety and preventing runtime errors can be a challenge when dealing with events in JavaScript.
Luckily, TypeScript provides powerful features for typing event handlers and improving code reliability. In this article, we’ll explore different strategies for typing event handlers in TypeScript using built-in types. Whether you’re a seasoned TypeScript developer or just starting with the language, this guide will help you write safer and more maintainable event-driven code.
What are event handlers?
Event handlers are an essential aspect of web development that enable interactivity in web pages. They’re functions that are called in response to certain events, such as user actions like clicking a button or scrolling a page, resizing a window and more.
In this article I’ll be dealing with some common events you might be running into, form changes, and click events, but hopefully those two examples should be enough to help you out with any events you may be trying to handle.
onClick
You may be used to using the onClick event. As the name indicates, it triggers when an element gets clicked, usually a button. In the simplest, you might not need any TypeScript at all:
export default function Events() {
    const onClick = () => console.log('Click!');
    return (
        <div className="flex h-screen w-full items-center justify-center">
            <button onClick={onClick}>Click me!</button>
        </div>
    );
}
The types come into play when you need information about the event, provided by the event parameter, which provides information about the click event, e.g. position, time.
If we change our handler to take this parameter, suddenly we run into an issue:
const onClick = (event) => {}We don’t know what type event is.
Luckily for us, TypeScript comes with some helpful types to handle these events.
If you’re using a lambda function like I am, then you can use the MouseEventHandler type:
    const onClick: MouseEventHandler<HTMLButtonElement> = (event) =>
        console.log(`Click at ${event.screenX} ${event.screenY}`);
Or if you prefer regular functions, then of course you can’t provide the function itself with a type. Thankfully the solution is easy; you can give the parameters a type:
    function onClick(event: MouseEvent<HTMLButtonElement>) {
        console.log(`Click at ${event.screenX} ${event.screenY}`);
    }
Forms
Another case you might be running into with event handlers is handling forms. Let’s set up a simple form:
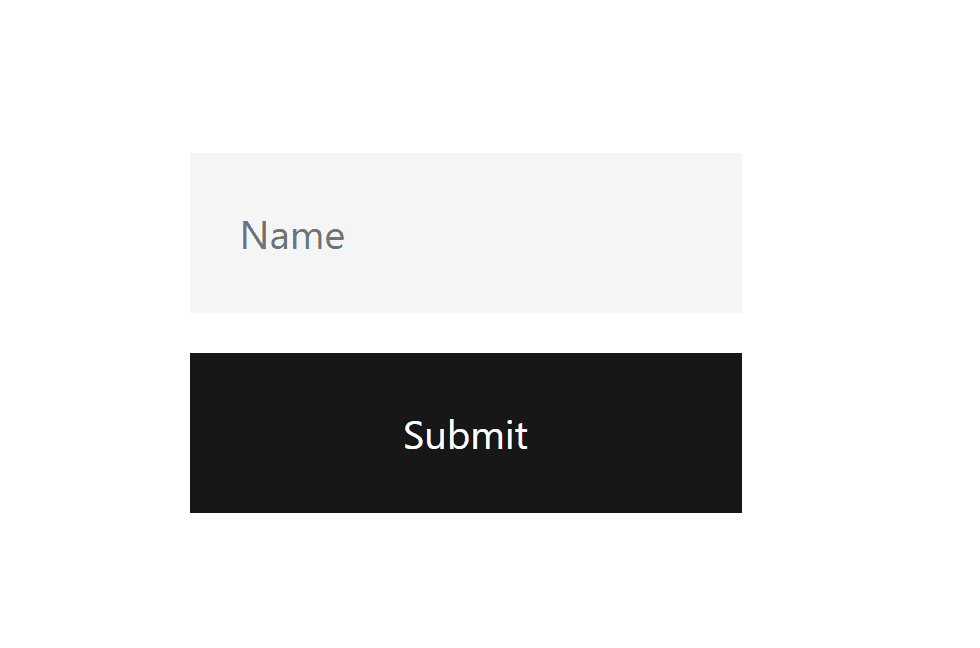
We’ll store the value in state, and use an event handler to keep that value in sync.
export default function Events() {
    function onClick(event: MouseEvent<HTMLButtonElement>) {
        console.log(`Click at ${event.screenX} ${event.screenY}`);
    }
    const [name, setName] = useState('');
    const onChange = (e) => setName(e.target.value)
    return (
        <div className="flex h-screen w-full items-center justify-center">
            <form className="flex flex-col gap-4">
                <input
                    className="bg-neutral-100 p-5 text-neutral-900"
                    placeholder="Name"
                    onChange={onChange}
                />
                <button className="bg-neutral-900 p-5 text-white" type="submit">
                    Submit
                </button>
            </form>
        </div>
    );
}
Again we run into the issue of what type to pass to our event handler, and again there’s a simple solution:
const onChange: ChangeEventHandler<HTMLInputElement> = (e) => setName(e.target.value);And if you prefer functions, you can move the type to the parameter:
function onChange(event: ChangeEvent<HTMLInputElement>) {
setName(event.target.value);
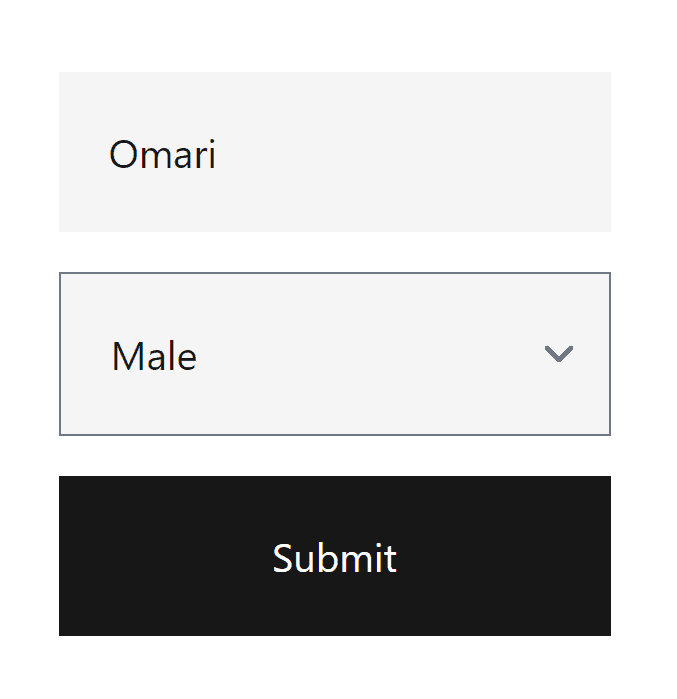
}You might notice we have a generic type parameter here, which is because there are a few different elements that can have change events. Another one is the select element, so why don’t we add in a gender selector to our form:
export default function Events() {
    const [name, setName] = useState<string>('');
    const [gender, setGender] = useState<string>('');

    const onNameChange = (e: ChangeEvent<HTMLInputElement>) =>
        setName(e.target.value);
    const onGenderChange = (e: ChangeEvent<HTMLSelectElement>) =>
        setGender(e.target.value);

    return (
        <div className="flex h-screen w-full items-center justify-center">
            <form className="flex flex-col gap-4">
                <input
                    className="bg-neutral-100 p-5 text-neutral-900"
                    placeholder="Name"
                    onChange={onNameChange}
                />
                <select
                    className="bg-neutral-100 p-5 text-neutral-900"
                    placeholder="Gender"
                    onChange={onGenderChange}>
                    <option value="">Gender</option>
                    <option value="male">Male</option>
                    <option value="female">Female</option>
                    <option value="other">Other</option>
                </select>
                <button className="bg-neutral-900 p-5 text-white" type="submit">
                    Submit
                </button>
            </form>
        </div>
    );
}
You might notice the change handlers are essentially the same, which is because we have a very simple case here. There are however some minor differences between the two types, such as the Select variant providing access to the list of options.
One more thing to add to our form is some submit logic. I don’t want our form to actually submit anywhere, so let’s just make it print out the values. Thanks to being able to access the event parameter, I can use e.preventDefault() to stop the form’s default behaviour of submitting.
And here’s our complete form:
export default function Events() {
    const [name, setName] = useState<string>('');
    const [gender, setGender] = useState<string>('');

    const onNameChange = (e: ChangeEvent<HTMLInputElement>) =>
        setName(e.target.value);
    const onGenderChange = (e: ChangeEvent<HTMLSelectElement>) =>
        setGender(e.target.value);

    const onSubmit = (e: FormEvent<HTMLFormElement>) => {
        e.preventDefault(); // prevent form from submitting and refreshing the page
        console.log({ name, gender }); // log form values to console
    };

    return (
        <div className="flex h-screen w-full items-center justify-center">
            <form className="flex flex-col gap-4" onSubmit={onSubmit}>
                <input
                    className="bg-neutral-100 p-5 text-neutral-900"
                    placeholder="Name"
                    onChange={onNameChange}
                />
                <select
                    className="bg-neutral-100 p-5 text-neutral-900"
                    placeholder="Gender"
                    onChange={onGenderChange}>
                    <option value="">Gender</option>
                    <option value="male">Male</option>
                    <option value="female">Female</option>
                    <option value="other">Other</option>
                </select>
                <button className="bg-neutral-900 p-5 text-white" type="submit">
                    Submit
                </button>
            </form>
        </div>
    );
}
You might be noticing the pattern here, most events have some kind of corresponding event handler type, along with a type just for the event parameter. These types are also usually generic, to be able to handle the differences between elements.
Here’s what our final result looks like:
Conclusion
And that’s a wrap! By now you should have a good understanding of how to type event handlers in TypeScript, and how to use them to handle user interactions.
Typing your event handlers not only helps catch errors earlier in development, but also makes your code more readable and maintainable in the long run. Plus, with TypeScript’s type inference and helpful error messages, it’s easier than ever to write safe and robust code.
So the next time you’re working on a project with forms in React, don’t forget to type those event handlers! If you liked this article, or if you’re having any issues, leave a comment below. Happy coding!
💬 Leave a comment