Functional components in Next.js are executed exactly like regular functions; they return some custom HTML used to render your component. This means any values in the function are initialised when you call the function, resetting them every time your component renders. You can use the useState hook to persist values across renders.
Example
Here’s the page we’ll be working with:
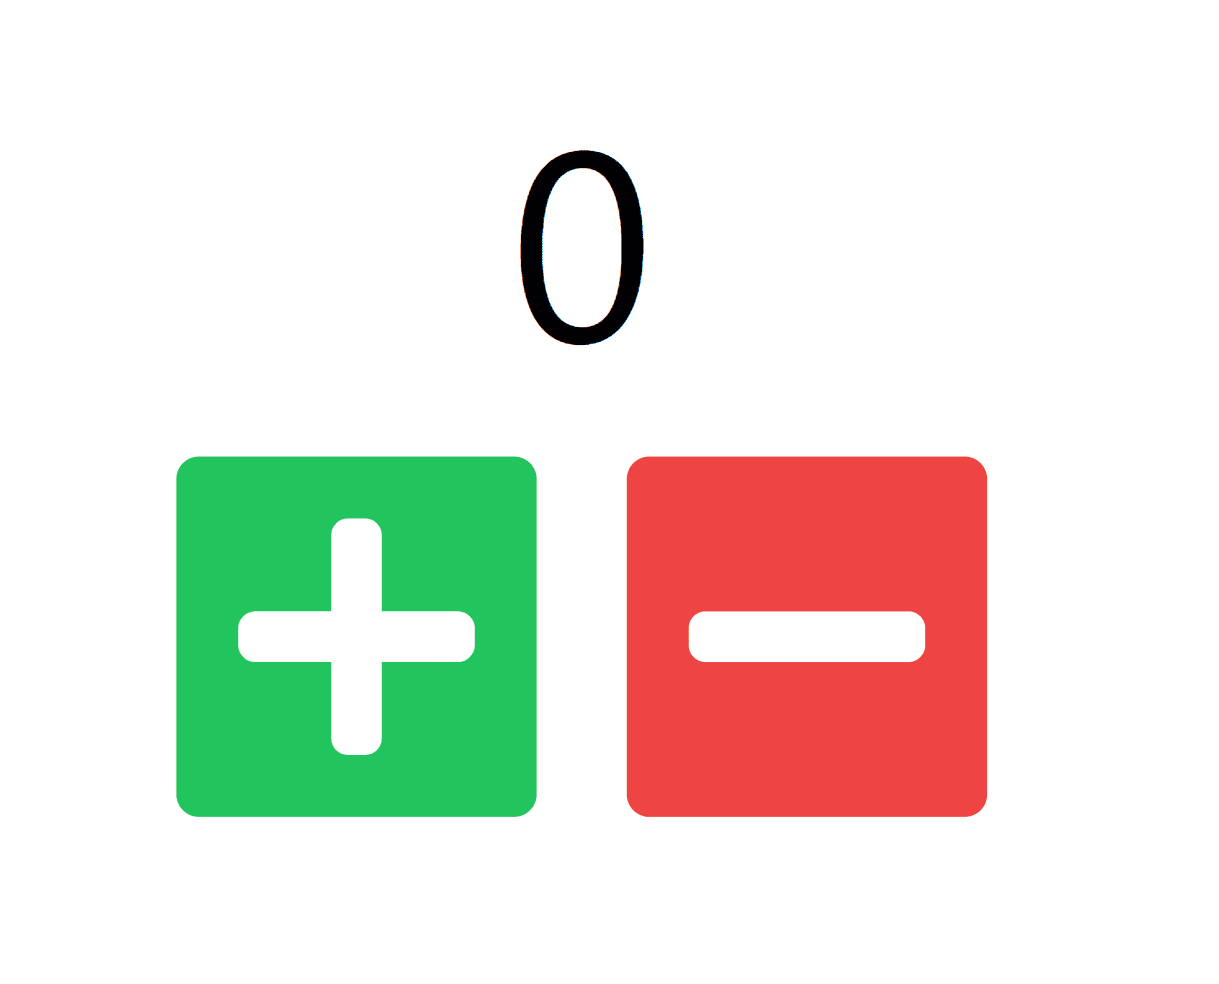
Nothing crazy, just a simple site where you can increase and decrease a number.
Here’s the code so far:
export default function useStateExample() {
    const increase = () => {} //?
    const decrease = () => {} // ?
    return (
        <div className="flex h-screen w-full flex-col items-center justify-center gap-4 text-5xl">
            <div>0</div>
            <div className="flex items-center justify-center gap-4">
                <button
                    className="rounded bg-green-500 p-2 text-white" onClick={increase}>
                    <FaPlus />
                </button>
                <button
                    className="rounded bg-red-500 p-2 text-white" onClick={decrease}>
                    <FaMinus />
                </button>
            </div>
        </div>
    );
}
A simple page component,with some styling from Tailwind, and some blanks we need to fill in.
Firstly let’s add in our useState hook, which follows this format:
const [valueName, setValueName] = useState(defaultValue)Let’s add this in to our component:
export default function useStateExample() {
    const [number, setNumber] = useState(0);
...

            <div>{number}</div>
...
}
Next up is how do we change our values:
Changing State
What not to do
A naive approach to this might be:
    const increase = () => number++;
    const decrease = () => number--;
But this causes an error. You should never modify the state variable directly; instead, use the setState function to allow Next.js to manage modifying your state. This helps it do things like know when your state value has changed, and make the changes more efficient, i.e. by batching changes.
Which might lead you to change the code to:
    const increase = () => setNumber(number + 1);
    const decrease = () => setNumber(number - 1);
This is correct in this situation, but there’s a pitfall you might run into. Next.js is efficient, and so won’t change your state value until the next render. With our button we call setNumber once and we get a re-render, so this is fine.
Let’s change our code a little to increase by two instead:
    const increase = () => {
        setNumber(number + 1);
        setNumber(number + 1);
    };
(We could just do number + 2, but let’s pretend we couldn’t)
Why is our number only increasing by 1 each time?
Next.js is efficient, so useState only updates our value after a re-render. This means our function runs like this:
   const increase = () => {
        //number = 0
        setNumber(number + 1); //number = 0; number + 1 = 1;
        setNumber(number + 1); //number = 0; number + 1 = 1;
    };
What to do instead
Thankfully, Next.js provides a way around this:
    const increase = () => {
        setNumber((previousValue) => previousValue + 1);
        setNumber((previousValue) => previousValue + 1);
    };
Instead of providing an immediate value, you can instead pass in a function which will receive the previous value as a parameter. Next.js then queues these updater functions up, the first one will receive 0 as you expect, but the next call receives the pending value of 2.
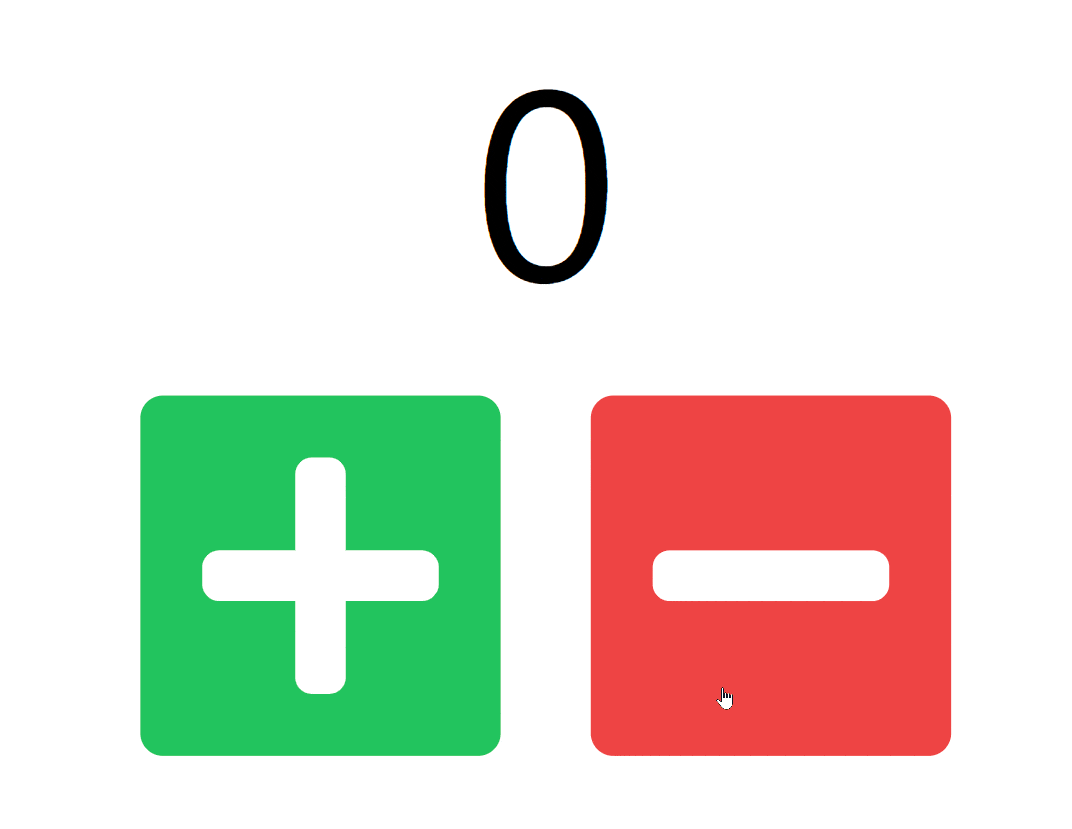
Here’s our fixed version:
The difference might not matter, in our case, only one setState gets called every render, but it’s an important thing to take note of for more complex apps.
Initializer Functions
Instead of an initial value, the useState hook also accepts an initializer function, i.e. a function that should return an initial value. Next.js will store this value, saving running the function on every render.
In our case, let’s change our initial number to use an initializer function:
function getNumber() {
    return 0;
}

export default function useStateExample() {
    const [number, setNumber] = useState(getNumber);
The getNumber function could be anything, it could pick a random number, retrieve the number from a database, any source.
Updating Arrays
We don’t want to modify our state directly, which includes array methods like array,push(), or things like array[3] = ‘Omari’. There is a simple way to get around this, by copying the whole array and modifying this. We can do this with the spread operator. Let’s modify our code, so the user can store previous numbers with a button press.
export default function useStateExample() {
const [number, setNumber] = useState(0);
const [numbers, setNumbers] = useState<number[]>([]);
const increase = () => setNumber((previousValue) => previousValue + 1);
const decrease = () => setNumber((previousValue) => previousValue - 1);
const enter = () => {
setNumbers((prev) => [...prev, number]);
setNumber(0);
};
return (
<div className="flex h-screen w-full flex-col items-center justify-center gap-4 text-5xl">
<div>{number}</div>
<div>{numbers.join(', ')}</div>
<div className="flex items-center justify-center gap-4">
<button
className="rounded bg-green-500 p-2 text-white"
onClick={increase}>
<FaPlus />
</button>
<button
className="rounded bg-red-500 p-2 text-white"
onClick={decrease}>
<FaMinus />
</button>
<button
className="rounded bg-stone-800 p-2 text-white"
onClick={enter}>
<FaThumbsUp />
</button>
</div>
</div>
);
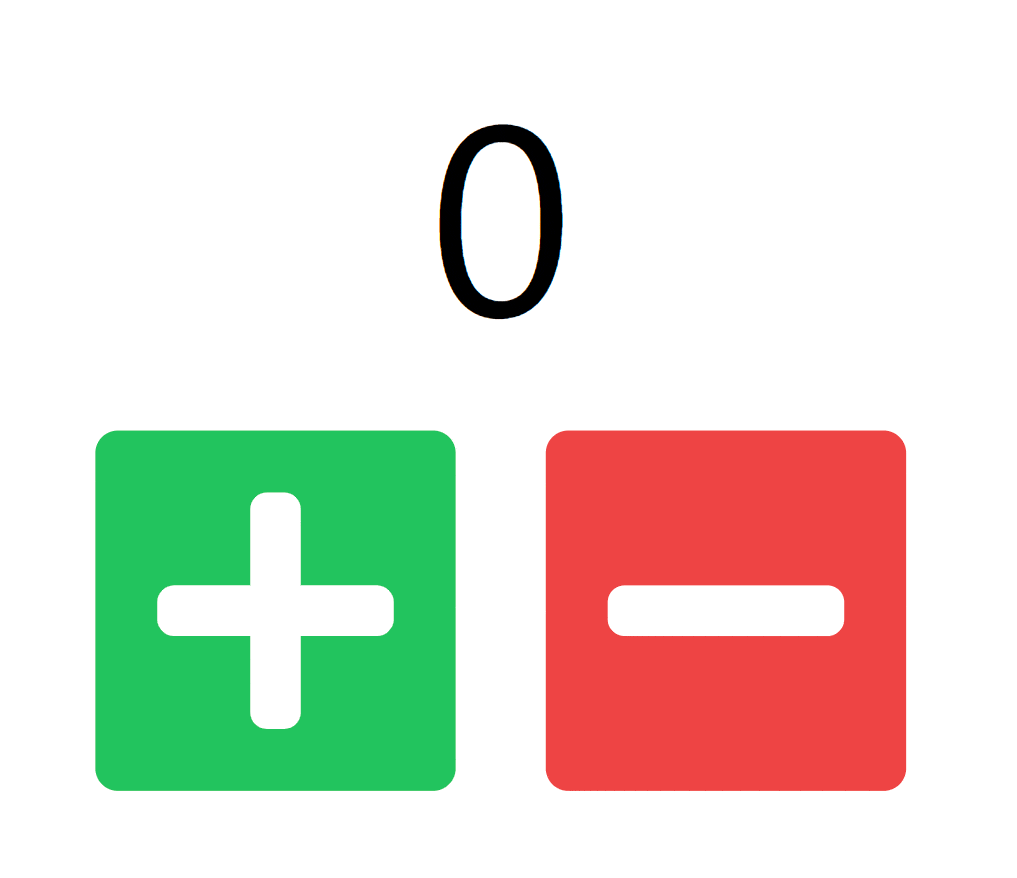
}Here’s our new page:

I’ve added in another useState() to store our history. Then here’s the function that gets called every time we submit:
    const enter = () => {
        setNumbers((prev) => [...prev, number]);
        setNumber(0);
    };
I’m using the spread operator “…” to create a new array and then placing our new number at the end of the array.
Some array methods mutate the array, in some cases there are alternatives, but if not, you can easily copy the array.
- Adding can be replaced by the spread operator, as seen above.
- Removing (e.g. pop, splice, shift) can be replaced by splice, filter or destructuring
For everything else, you can easily make a copy of the array, and modify that.
Updating Objects
For simpler objects, you can do exactly the same as above:
   setObject((prev) => {
        return { ...prev, new: 'foo' };
    });
If you’re trying to perform more complex operations on objects, you can also easily copy the object, and perform any modifications you need.
If you’re dealing with nested objects, they can still be dealt with:
    setObject((prev) => {
        return { ...prev, foo: { ...prev.foo, bar: 'bar' } };
    });
Or you can easily copy the array, and modify this:
    setObject((prev) => {
        const newObject = {...prev}
        newObject.foo.bar = 'bar';
        return newObject;
    });
Conclusion
Thanks for reading! If you’d like to read more, check out our article covering useState in React, or useReducer, a more complex version of this hook. If you liked this article, feel free to leave a comment below!
💬 Leave a comment