Svelte applications can be extremely easy to deploy. We’ll use the Netlify drag and drop feature to demonstrate how you can deploy your project in just a matter of seconds. It’s a very straightforward process.
If you’re someone who’s still learning about deployments then you should consider deploying some of your projects to live URLs. It makes it a bit easier for you to showcase your portfolio to potential employers. It can also help you stand out from the crowd as most people don’t tend to deploy their projects.
Netlify account
The first step is to get yourself the free Netlify account. If you already have a GitHub account then you can use that to log in. Head over to the login page.
Once you have access to the dashboard head over to the Sites section.

Scroll to the very bottom of the page until you stop at the drag and drop section.

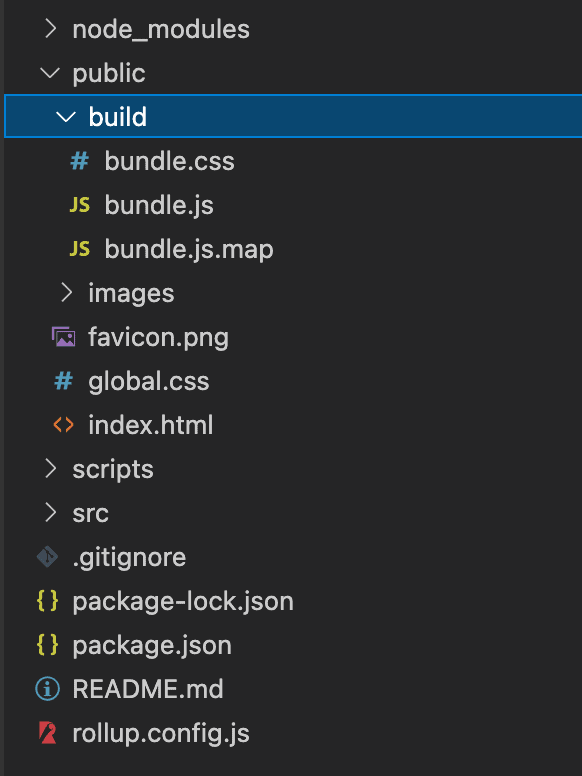
Svelte build
Now it’s the time to compile your Svelte project. Navigate to the root directory of your project in the terminal and run
$ npm run buildThis will create the production build of your application. It will be located in the public directory.
Now all you have to do to deploy your application is to drag the public directory into the dropzone in Netlify. After a brief while, you should be seeing the popup that the deployment was finished.
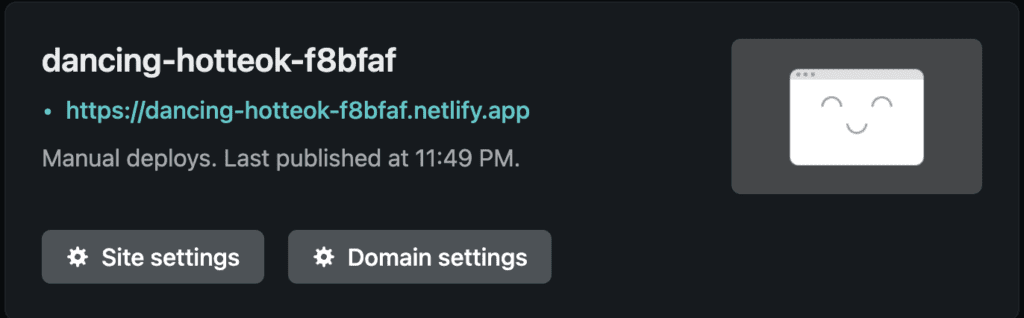
All that’s left to do is to click on the green link! This will load your application in the browser.
💬 Leave a comment