Infinite scrolling on websites is a technique that is used to keep the user engaged with the page, by presenting them with new content as they scroll down. To create this effect, you have to have several items on the page that are being loaded dynamically. This means that the items are being loaded as the user scrolls down.

Infinite scrolling is a common feature on social media sites. It allows users to scroll through the post feed without ever reaching the end.
The most important feature of infinite scroll, however, is that it greatly improves the first-load experience, because the user doesn’t have to wait for new data to load. Since content is loaded as the user scrolls down, the initial page has less information and thus loads much more quickly for the user.
In this tutorial, we’ll use React to implement our own infinite scroll.
Setup
We’ll first get our application ready so that we can add the infinite scroll. We can use create-react-app to generate our starter code:
npx create-react-app infinite-scroll
cd infinite-scroll
npm start
We’ll be coding within the App.js file.
First steps
We’ll now generate some sample data for our infinite scroll.
Suppose we had to display posts on a social media app one after another in an infinite scroll. We’d have to create a wrapper class for each post to then implement the infinite scroll.
We’ll do that now. We’ll first create the <Post /> component in a file called Post.js:
import React from 'react';

const Post = (props) => {

  return (

    <div>

      <h1>
        {props.title}
      </h1>

      <p>
        {props.body}
      </p>

    </div>

  );

};

export {Post};
The element above takes in props and renders a heading with the text in the title attribute, and a paragraph with the text in the body attribute. Let’s test this element in App.js:
import { Post } from './Post.js';

function App() {

  var sampleText = "lorem ipsum dolor sit amet, consectetur adipisicing elit, sed do eiusmod tempor incididunt ut labore et dolore magna aliqua. ";

  return (

       <Post title="Post 1" body={sampleText} />

  )

}

export default App;
When we run the app, we get the following render of the page:
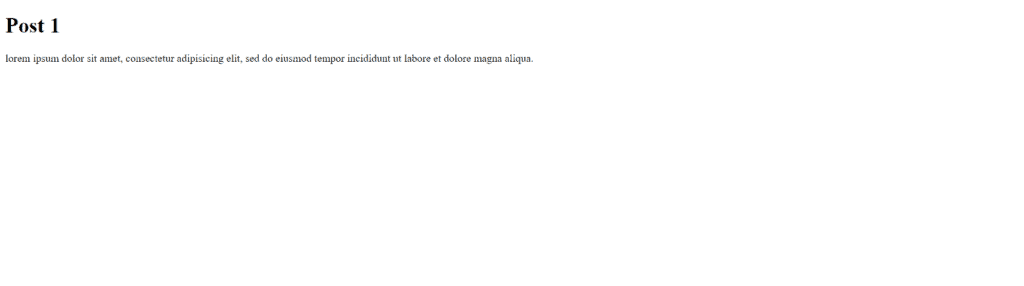
The element is so plain! Let’s add some styles.
We’ll add the following class to our App.css file:
.Post {

    font-family: Arial, Helvetica, sans-serif;
    text-align: center;
    background-color: lightblue;
    border-radius: 15px;
    padding: 10px;
    margin: 10px;

}
And back in our Post.js file, we’ll make modifications to use this new class:
import React from 'react';

const Post = (props) => {

  return (

    <div>

      <h1>
        {props.title}
      </h1>

      <p>
        {props.body}
      </p>

    </div>

  );

};

export {Post};
Now, we get the following render:
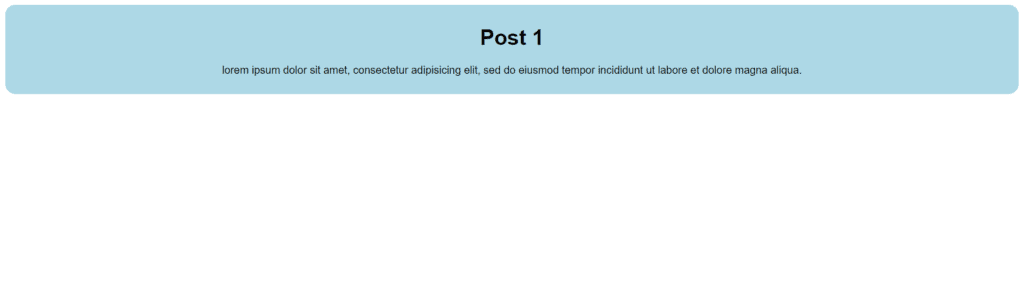
That’s more like it! Now, we’ll create many versions of this element, and implement the infinite scroll.
For our example, we’ll render 20 posts at a time, and add more to the bottom when the user reaches the end (therefore creating the infinite scroll effect). For our purposes, we won’t set a limit to the amount of posts that can be made — we will truly be able to infinitely scroll down!
Infinite Scroll
First, we’ll modify App.js to render 20 posts instead of the single one we rendered earlier:
import { useState } from 'react';
import { Post } from './Post.js';

function App() {

  // Text to use for each post
  var sampleText = "lorem ipsum dolor sit amet, consectetur adipisicing elit, sed do eiusmod tempor incididunt ut labore et dolore magna aliqua. ";
  var postsPerPage = 20;

  // Use useState to hold the posts being rendered to the screen
  // Create the array of posts to map to render
  const [posts, setPosts] = useState([...Array(postsPerPage).keys()]);

  return (

    <div>

       {posts.map((item, i) => (
        <Post title={"Post " + (i + 1)} body={sampleText} />
      ))}

    </div>

  )

}

export default App;
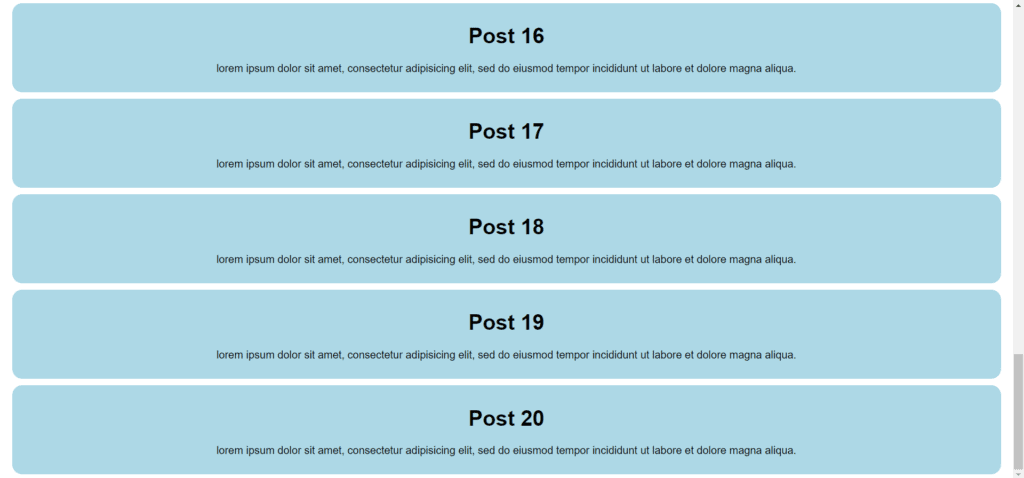
We’ve imported useState() in the above example for use when we want to modify the posts on the screen and have the component automatically re-render. We set the posts to a range of numbers below our variable postsPerPage, which we set to 20 (the number of posts we want on the page before loading the next set).
In the return statement, we map the range of values to 20 different <Post /> elements, each with their own distinct label based on the value in the array. As a result, we get posts with numbers ranging from 1-20:
Now that we’re able to display multiple posts to the screen, let’s enable the infinite scroll feature we’ve been waiting for!
We’ll use the scroll event in this example, one of several ways to solve the problem:
import { useState } from 'react';
import { Post } from './Post.js';

function App() {

  // Text to use for each post
  var sampleText = "lorem ipsum dolor sit amet, consectetur adipisicing elit, sed do eiusmod tempor incididunt ut labore et dolore magna aliqua. ";
  var postsPerPage = 20;

  // Use useState to hold the posts being rendered to the screen
  // Create the array of posts to map to render
  const [posts, setPosts] = useState([...Array(postsPerPage).keys()]);

  var postNumber = postsPerPage;

  function handleScroll() {

    var isAtBottom = document.documentElement.scrollHeight - document.documentElement.scrollTop <= document.documentElement.clientHeight;

    if (isAtBottom) {

      // Load next posts
      postNumber += postsPerPage;

      setPosts([...Array(postNumber).keys()]);

    }

  }

   window.addEventListener("scroll", handleScroll);

  return (

    <div>

      {posts.map((item, i) => (
        <Post title={"Post " + (i + 1)} body={sampleText} />
      ))}

    </div>

  )

}

export default App;
There’s a bit to unpack here.
The first change we’ve made is setting the variable postNumber, which tracks the amount of posts currently displayed on the page. This is important when used in conjunction with the setPosts() function created by useState().
Next, we create a function handleScroll() that contains the action to be executed whenever the user scrolls on the page. Since our posts are added in the context of the window, we don’t use a specific HTML element, but the entire window for triggering our scroll event.
To trigger the event, we add a scroll listener to the window connected with our handleScroll() event.
When the scroll event is triggered, we head back to our handleScroll() function. There, we determine if the user is at the bottom of the page, and store it as a boolean in ‘isAtBottom’.
What we’re doing here is basically subtracting the scroll distance (distance from the top) from the scroll top (location of the top) and comparing the result with the height of the entire scroll bar. If the minuend is less than the height of the scroll bar, we perform the following:
- We increment postNumber with postsPerPage
- We use setPosts() to re-render the posts on the screen with the new array of values
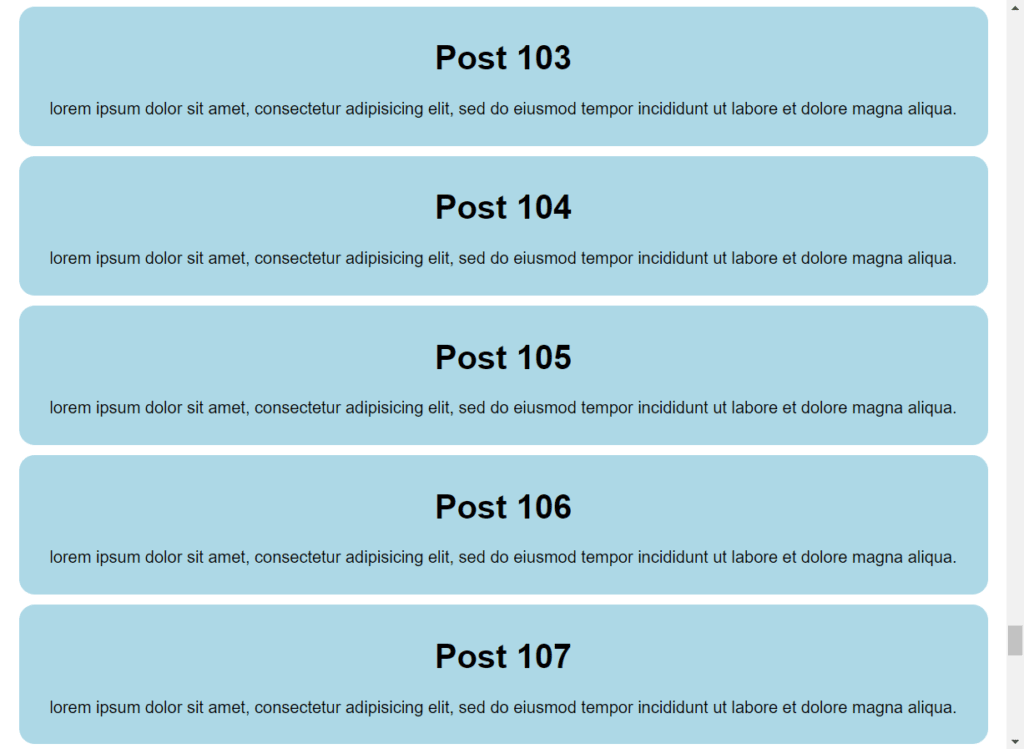
Thus, as we scroll down, we have an infinite scroll!
That’s it for this article! Please leave any questions or comments below.
💬 Leave a comment