Next.js provides out-of-the-box routing features which make redirecting straightforward and easy. In this tutorial, I’ll talk you through how to redirect through two different methods, permanent redirects through the Next.js config, and client-side redirects with the useRouter hook.
If you’re not familiar with Next.js, it’s a great framework that expands on React, and provides some really useful additional functionalities, and you can read more about it here.
Permanent Redirects
This happens at the routing level, e.g. when someone tries to access the route to be redirected, your server will redirect them to the route to redirect to.
To create a redirect in Next.js you need to add a redirects function to your next.config.js file. This function should return a list of redirect objects containing a source path, destination path, and whether or not the redirect is permanent. This matters as it will tell search engines whether or not the redirect is permanent, which they can use to decide whether or not to cache the page.9
const nextConfig = {
    async redirects() {
        return [
            {
                source: '/login',
                destination: '/',
                permanent: true,
            },
        ];
    },
};
In this example, we’re redirecting any hits to “/login” to the root, which may be useful for example for a social media site, where you want the first thing a user to see to be the log-in page. You can skip creating a separate route for the log-in page, and simply serve the same page.
Client-Side Redirects
Sometimes you may only need to redirect under certain conditions, e.g. redirecting users to a login page if they aren’t signed in, or if a button is clicked. For this, you can use the useRouter() hook:
const Profile = () => {
const { push, query, isReady } = useRouter();
useEffect(() => {
if (!isReady) return; //The query string parameters might not be loaded straight away, but isReady will be true when they are
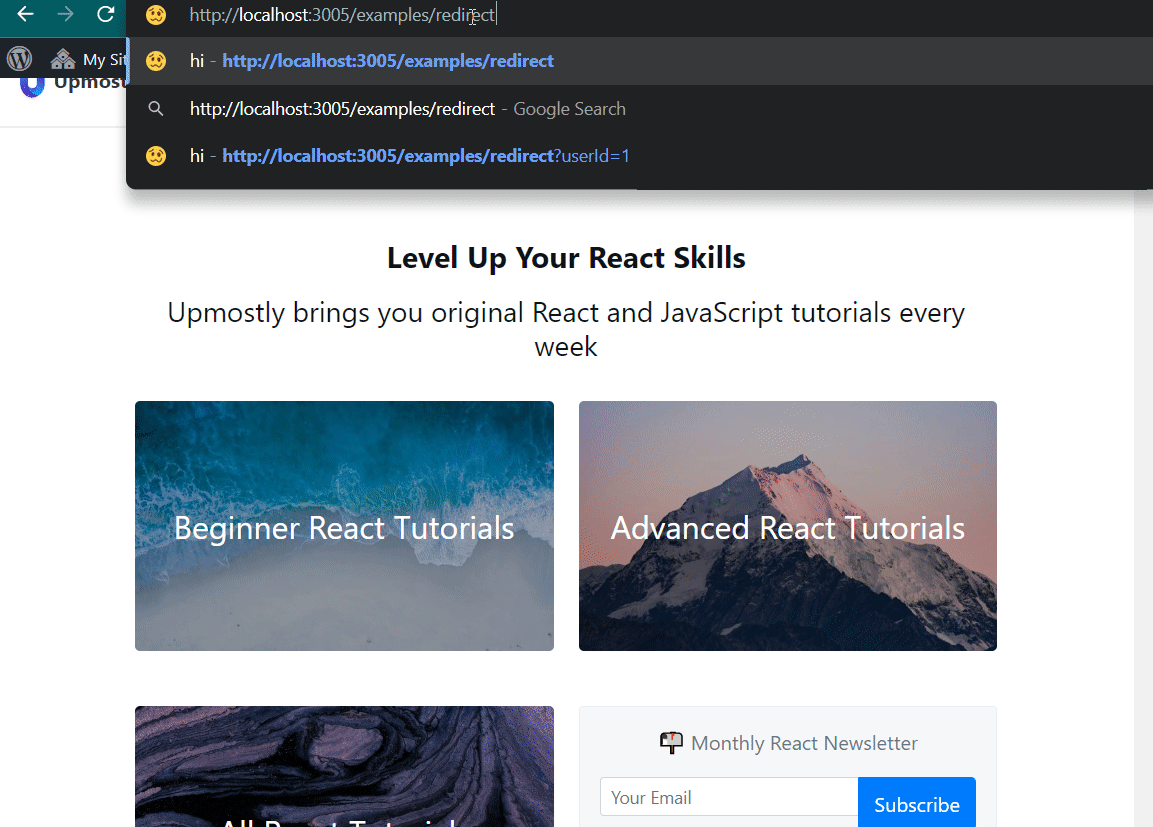
if (!query.userId) push('/examples/login');
}, [isReady, push, query.userId]);
return (
<div className="rounded bg-black p-5 font-title text-7xl text-white shadow">
{query.userId && <h1>User Id: {query.userId}</h1>}
</div>
);
};Here’s a simple mock-up for a user profile page. In a real-world scenario, you might use this user id to go fetch the rest of the user profile, but for our example, we’ll just display the id. We’re getting the user id here through a query string parameter, which you can find out more about here.
When we navigate to this page, if there is no userId provided, the page will redirect to the login page. One important thing to note here is that in this scenario, the Profile page will still be loaded, so you would need some conditional rendering to ensure the user data isn’t fetched.
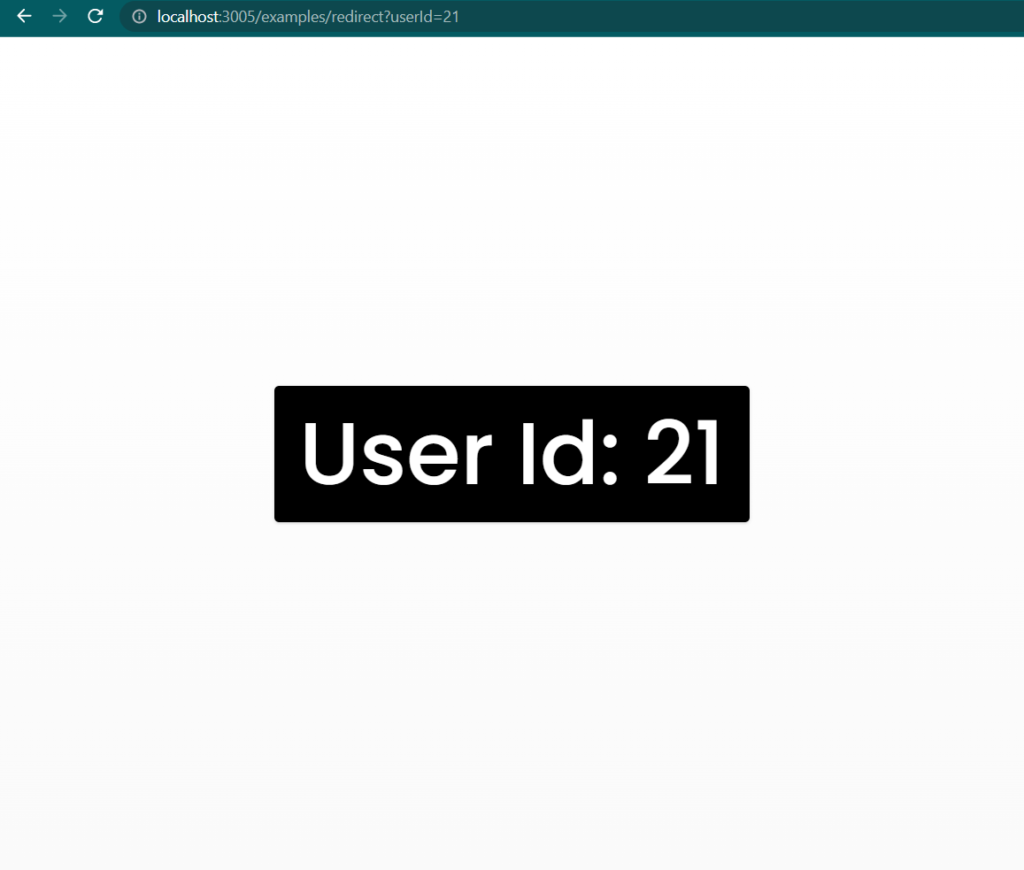
If we do provide a user id, router.push() is never called, and we get this nice user profile screen! (You may need to use your imagination…). You can use whatever logic you want to control this, e.g. if you wanted to redirect a user to a welcome page if it’s their first login, or redirect non-admins away from an admin panel. N.B. If you’re wondering where the classes and styling are coming from, check out our tutorial on TailwindCSS here.
Hopefully this tutorial was straightforward enough that you can adapt the above examples to your own scenarios. Feel free to let me know in the comments if you have any suggestions, or if you simply liked the article!
💬 Leave a comment