Google Fonts is a great collection of free fonts to use in your web app. Thanks to Next.js, using any font from Google fonts is very streamlined and simple. In this article, I’ll talk you through the Next.js method, as well as a method that works for older versions of Next.js.
next/font
One of the great new features of Next.js 13 is its new font library, next/font.
You’ll need to install this with npm:
npm install @next/fontThis immediately gives you access to all of the fonts on Google font on demand as you need them. These get downloaded when you build your app, so no requests get sent to Google client-side, and only the fonts you import get loaded.
Here’s how to use it:
First, we import any fonts we need:
import { Inter, Rubik } from '@next/font/google';These get imported as functions which we can provide some arguments to generate our fonts:
export const title = Rubik({
    subsets: ['latin'],
    weight: ['400', '500', '600', '700'],
});

export const text = Inter({
    subsets: ['latin'],
    weight: ['400', '700'],
});
You can take a look at the full list of options here, but I’ll talk you through the options I’ve found the most useful.
For variable Google fonts, there are no required parameters. Some fonts may not be variable, however, and you will need to provide some weight options. What options are available depends on the font, and your IDE should help with this.
Additionally, if you want Next.js to preload your font, you will have to provide some subset options so it knows what to load. If you’re unsure of what to put, you can keep it as just the Latin characters.
Next.js generates a class name for our font, accessible through “font.className”. e.g.
<div className={font.className}>
  Hi!
</div>
You might already have some classes in your app of course. To help with combining classes, clsx is a very helpful package. You can install it with:
npm install --save clsxAnd use it like this:
<div className={clsx("bg-red text-xl more-classes" font.className)}>
  Hi!
</div>
Let’s put this all together with a quick landing page mock-up:
import { Inter, Rubik } from '@next/font/google';
import clsx from 'clsx';
export const title = Rubik({
subsets: ['latin'],
weight: ['400', '500', '600', '700'],
});
export const text = Inter({
subsets: ['latin'],
weight: ['400', '700'],
});
export default function Fonts() {
return (
<div
className={clsx(
'flex h-screen w-full flex-col items-center justify-center gap-4 bg-stone-900 text-white',
text.className
)}>
<h1 className={clsx('text-8xl font-bold', title.className)}>
Hi, I'm Omari
</h1>
<button className="rounded bg-teal-800 px-8 py-4 text-2xl shadow">
Let's Talk
</button>
</div>
);
}I’m using TailwindCSS for the rest of my styling, which you can see in the class names. Thanks to clsx, I can very easily combine these with the next fonts. And here’s what my page looks like:

The Old Way
Just in case you want to avoid using next/font for whatever reason, it’s still very simple to access Google Fonts in Next.js. You can get the URL to import them from Google Fonts, and use these however you’re using CSS in your Next.js app.
Head to Google Fonts and select the fonts and styles you want. After they’re selected, you should see a list of your fonts followed by some links to import your fonts.
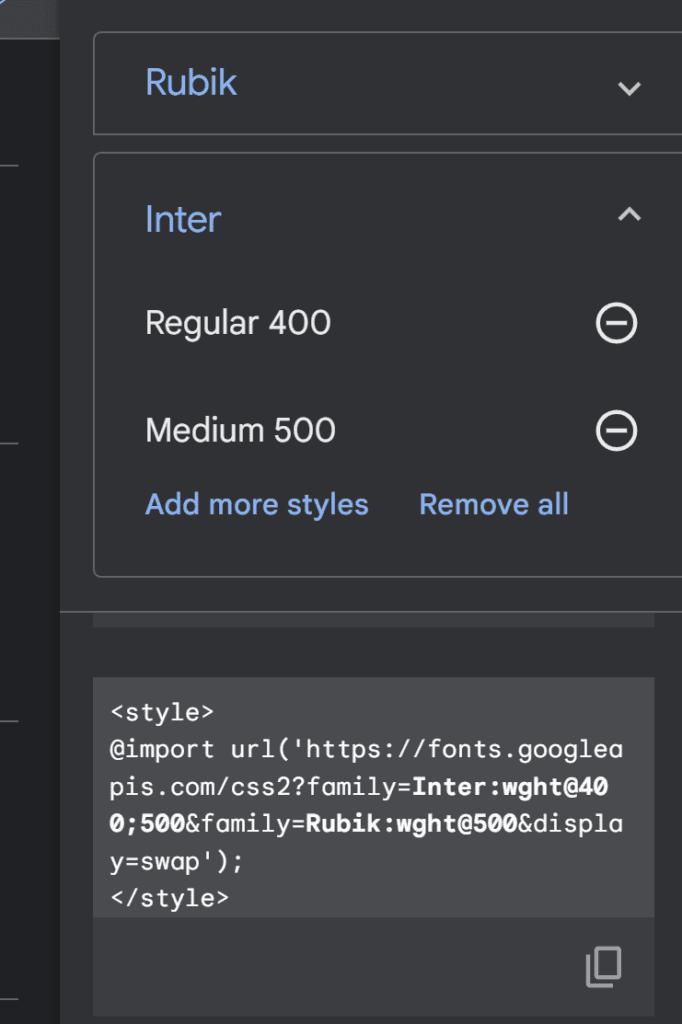
You can ignore the style tags, the @import is what you’ll need to use your fonts. Copy this link to the top of your CSS, for example, Next.js comes with a default global globals.css file:

Then to use these fonts, if you’re using plain CSS you can go ahead and copy the CSS rules provided by Google fonts:
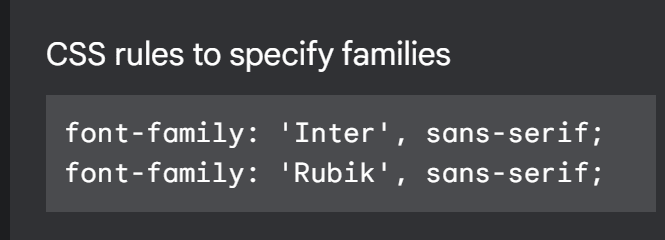
e.g.:
.title {
    font-family: 'Rubik', sans-serif;
}

.text {
    font-family: 'Inter', sans-serif;
}
I’m using TailwindCSS however, which lets me manage fonts in my Tailwind config:
module.exports = {
    ...
    theme: {
        extend: {
            fontFamily: {
                title: ['Rubik', ...defaultTheme.fontFamily.sans],
                text: ['Inter', ...defaultTheme.fontFamily.sans],
            },
    ...
}
Not a lot of the code is different from our previous example, just the class names we’re using. Since the class name is just a constant string, in this case, you won’t need to use clsx either:
export default function Fonts() {
return (
<div className="flex h-screen w-full flex-col items-center justify-center gap-4 bg-stone-900 font-title text-white">
<h1 className="font-text text-8xl font-bold">Hi, I'm Omari</h1>
<button className="rounded bg-teal-800 px-8 py-4 text-2xl shadow">
Let's Talk
</button>
</div>
);
}Conclusion
Thanks for reading! I’d recommend the first method if you’re on at least Next.js 13, but the second approach will work on older versions of Next.js and even plain React. If you liked this article, if you’re having any troubles, or if you have any suggestions, leave a comment below!
💬 Leave a comment