Uploading a file to Amazon S3 (Simple Storage Service) in a Next.js application is a straightforward process that can be accomplished with the help of the AWS SDK (Software Development Kit) for JavaScript.
Getting Started
First, you’ll need to set up an S3 bucket in your AWS account, and make note of the access key and secret key for your IAM user. Your IAM user should also be set up with permissions for S3 access.
If you haven’t created your bucket yet, you can do so here. You can go ahead and give your bucket a name, pick the most appropriate region, and feel free to leave the rest of the options at their defaults.
You’ll also need to set up CORS for your S3 bucket. In Permissions -> Cross-origin resource sharing (CORS), add the following:
[
    {
        "AllowedHeaders": [
            "*"
        ],
        "AllowedMethods": [
            "PUT",
            "POST",
            "GET"
        ],
        "AllowedOrigins": [
            "*"
        ],
        "ExposeHeaders": [
            "ETag"
        ]
    }
]
Next, you’ll need to install the AWS SDK in your app by running:
npm install aws-sdkin your project’s root directory.
The Basics
You can check out the full code for our component here, but I’ll talk you through it step by step.
Here’s the end result, so you can follow along visually:
Firstly we need to set up our s3 object, to be able to perform s3 actions:
const s3 = new S3({
    accessKeyId: 'key-id-goes-here',
    secretAccessKey: 'secret-access-key-goes-here',
    region: 'eu-west-1',
});
Then we have our actual component:
export default function Home() {
    const [file, setFile] = useState<File | null>(null);
    const [upload, setUpload] = useState<S3.ManagedUpload | null>(null);
    const progress = useMotionValue(0);

    useEffect(() => {
        return upload?.abort();
    }, []);

    useEffect(() => {
        progress.set(0);
        setUpload(null);
    }, [file]);

    const handleFileChange: ChangeEventHandler<HTMLInputElement> = (e) => {
        e.preventDefault();
        setFile(e.target.files![0]);
    };

    const handleUpload: MouseEventHandler<HTMLButtonElement> = async (e) => {
        e.preventDefault();
        if (!file) return;
        const params = {
            Bucket: 'upmostly-nextjs-s3-file-upload',
            Key: file.name,
            Body: file,
        };
        console.log(params);

        try {
            const upload = s3.upload(params);
            setUpload(upload);
            upload.on('httpUploadProgress', (p) => {
                console.log(p.loaded / p.total);
                progress.set(p.loaded / p.total);
            });
            await upload.promise();
            console.log(`File uploaded successfully: ${file.name}`);
        } catch (err) {
            console.error(err);
        }
    };

    const handleCancel: MouseEventHandler<HTMLButtonElement> = (e) => {
        e.preventDefault();
        if (!upload) return;
        upload.abort();
        progress.set(0);
        setUpload(null);
    };
    return (
        <div className="dark flex min-h-screen w-full items-center justify-center">
            <Head>
                <title>Hello World!</title>
                <link rel="icon" href="/favicon.ico" />
            </Head>
            <main>
                <form className="flex flex-col gap-4 rounded bg-stone-800 p-10 text-white shadow">
                    <input type="file" onChange={handleFileChange} />
                    <button
                        className="rounded bg-green-500 p-2 shadow"
                        onClick={handleUpload}>
                        Upload
                    </button>
                    {upload && (
                        <>
                            <button
                                className="rounded bg-red-500 p-2 shadow"
                                onClick={handleCancel}>
                                Cancel
                            </button>
                            <ProgressBar value={progress} />
                        </>
                    )}
                </form>
            </main>
        </div>
    );
}
There’s a lot of code here, so let’s break it down:
                <form className="flex flex-col gap-4 rounded bg-stone-800 p-10 text-white shadow">
                    <input type="file" onChange={handleFileChange} />
                    <button
                        className="rounded bg-green-500 p-2 shadow"
                        onClick={handleUpload}>
                        Upload
                    </button>
                    {upload && (
                        <>
                            <button
                                className="rounded bg-red-500 p-2 shadow"
                                onClick={handleCancel}>
                                Cancel
                            </button>
                            <ProgressBar value={progress} />
                        </>
                    )}
                </form>
Here’s our actual form. It’s a very simple form, styled using TailwindCSS. We have a file input, an upload button, and a conditional block that renders during upload, containing a cancel button, and a progress bar, which I’ll explain later.
You might notice some functions being provided for the onclick and onchange events for our form input and buttons, let’s go through these.
handleFileChange
    const handleFileChange: ChangeEventHandler<HTMLInputElement> = (e) => {
        e.preventDefault();
        setFile(e.target.files![0]);
    };
handleFileChange is a simple function, whenever the file selected changes, we just store it in state. The preventDefault() here is in order to prevent the code from trying to submit our form like a typical HTML form, which would reload the page and wipe our form.
handleUpload
    const handleUpload: MouseEventHandler<HTMLButtonElement> = async (e) => {
        e.preventDefault();
        if (!file) return;
        const params = {
            Bucket: 'upmostly-nextjs-s3-file-upload',
            Key: file.name,
            Body: file,
        };


        try {
            const upload = s3.upload(params);
            setUpload(upload);
            upload.on('httpUploadProgress', (p) => {
                console.log(p.loaded / p.total);
                progress.set(p.loaded / p.total);
            });
            await upload.promise();
            console.log(`File uploaded successfully: ${file.name}`);
        } catch (err) {
            console.error(err);
        }
    };
The file upload function is a little more complex. s3.upload() needs some parameters, just a filename, the name of our bucket to upload to, and the file itself from our form input.
Then it returns back an upload object, containing some useful methods for monitoring the progress of our upload. We can add in an event handler to track the progress of the upload, which I’ll use later to create a progress bar. The object also provides a promise, which we can await to track when the upload is finished. Then, the whole block is wrapped in a try block, just in case of any upload errors.
handleCancel
    const handleCancel: MouseEventHandler<HTMLButtonElement> = (e) => {
        e.preventDefault();
        if (!upload) return;
        upload.abort();
        progress.set(0);
        setUpload(null);
    };
Finally, we have our cancel function. Again we use preventDefault() to stop the form from submitting, and then s3’s upload object provides a handy abort function to cancel the upload. I’m also resetting the progress in here, returning everything to its original state.
Progress Bar
You might have noticed the progress bar component inside our page. Let’s explore that component.
function ProgressBar({ value }: { value: MotionValue<number> }) {
    const width = useSpring(value, { damping: 20 });
    return (
        <motion.div className="flex h-6 w-full flex-row items-start justify-start">
            <motion.div
                className="h-full w-full bg-green-500"
                style={{ scaleX: width, originX: 0 }}
                transition={{ ease: 'easeIn' }}
            />
        </motion.div>
    );
}
The progress bar itself is simply an empty green div, inside another div to keep the full length of the progress bar.
Then for the actual progress bar effect, we simply change the scale of the inner div depending on the progress value provided as a prop.
In order to smooth out the changing value of the progress bar, I’m using Framer motion’s useSpring hook. Framer motion handles transitioning between values using a spring-like motion.
Conclusion
Finally, we can of course double check our files are being uploaded:
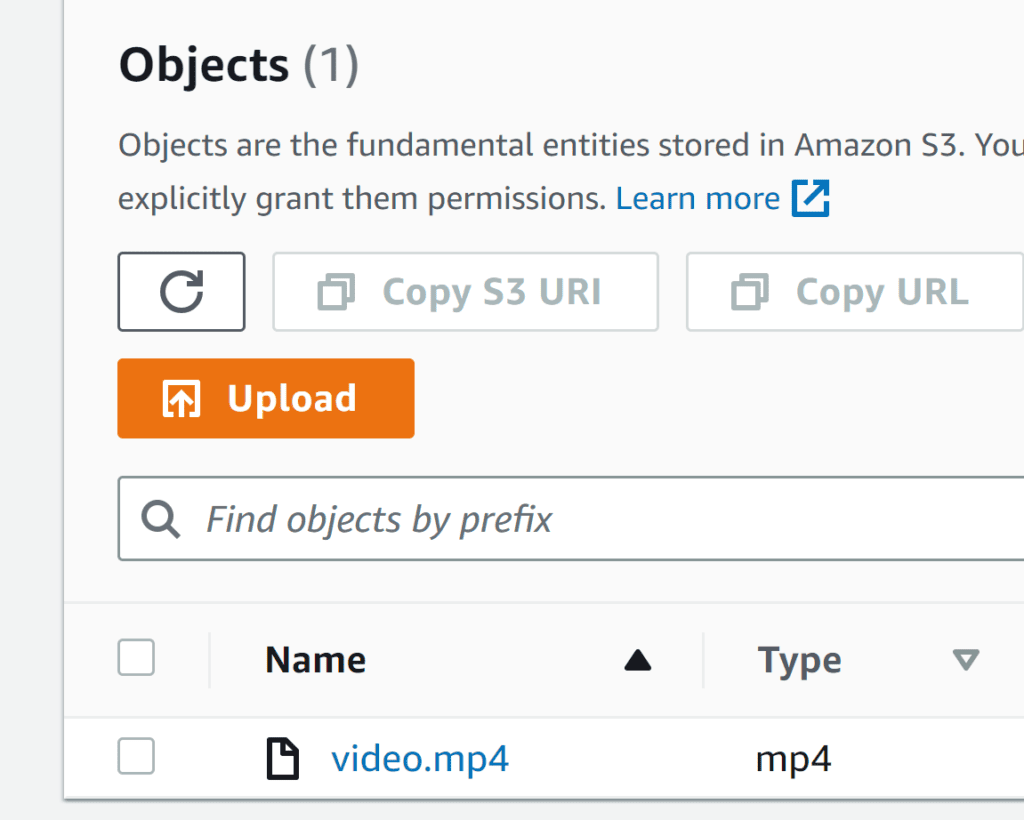
And voila! Thanks to the AWS SDK, we can very easily upload files to S3 from Next.js, and easily monitor and track our uploads. If you liked this article, or if you’re having any trouble following along, feel free to leave a comment below!
💬 Leave a comment