Images are a common part of many websites. It’s important that you learn how to use the images properly in NextJS to make use of all of the optimizations that the framework developers have provided for us.
Placing images
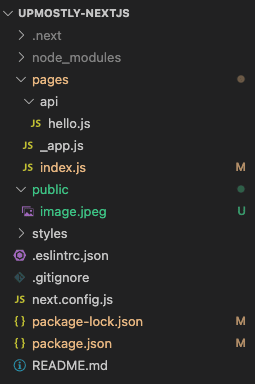
When working with NextJS you have to place all of your static images in the public folder of your application. In my case, I have placed there one image called image.jpeg.

I can now reference it anywhere in my application with the absolute path which starts from the public folder.
Image
In NextJS we have the Image component available out of the box. It gives us some extra functionality that the regular img element doesn’t have. This component has three required props that need to be always provided.
Those are:
- src – path leading to the image
- width – width of the image in pixels
- height – height of the image in pixels
Take a look at the code snippet below where I’m rendering my image to the page.
import Image from 'next/image'

export default function Home() {
  return (
    <div>
      <h2>My image</h2>
      <Image src='/image.jpeg' width={520} height={280} />
    </div>
  )
}
This outputs the below page.

It’s worth noting that we still can use the regular img tag to render the images, however using the Image components has a couple of important benefits like: lazy loading by default, resizing or optimized build times. Make sure that you check out the official documentation to learn more about Image component.
💬 Leave a comment