Build a simple todo app using React and React Hooks. This is a perfect starting tutorial for beginner and intermediate React developers.
What We’ll Build
Our React todo list app is going to be simple, stylish, and user-friendly. Feast your eyes on the GIF of our finished todo list app above!
If you want you can skip the tutorial and go straight to the full source code of the React todo component.
I’m going to walk you through how to build this simple to-do list app in React, using only functional components and the new useState React Hook.
For those who haven’t yet taken the plunge into the world of React Hooks, the useState Hook will allow us to store state inside of functional components. To learn more about the difference between functional and class-based components check out this guide. Anyways, Goodbye overly confusing Class components, hello Hooks!
Create a New React Project
As with every React tutorial, we’re going to skip all of the manual build configurations and use the absolutely fantastic Create React App to build our new React project.
Open up a new terminal window, and type in the following:
npx create-react-app todo-appOnce Create React App has finished building your project, open the todo-app folder in your favorite IDE or editor.
We’re given one React component inside of a new Create React App project, App.js. Feel free to rename it. However, I’m going to keep the name as we’re only going to use one component.
Write the HTML and CSS Styles
Whenever I create a new React component, I like to start out by scaffolding the HTML and CSS before writing any logic in JavaScript.
Open up App.js and find the return statement towards the end of the component.
Because we’re dealing with functional React components, we won’t have a render method that’s typically found inside of Class components. Instead, our functional component directly returns the HTML.
Replace App.js with the following code:
import React from 'react';
import logo from './logo.svg';
import './App.css';

function App() {
  return (
    <div className="app">
      <div className="header">
        <img src={logo} className="logo" alt="logo" />
      </div>
      <form className="todo-list">
        <ul>
          <div className="todo">
            <div className="checkbox" />
            <input type="text" value="Todo one" />
          </div>
        </ul>
      </form>
    </div>
  );
}

export default App;
While you’re at it, paste the CSS below inside of App.css, which will be in your /src directory.
This will theme the todo app so it looks like mine. If you’re feeling adventurous (check you out, Picasso!), you could tweak the CSS to your liking.
body {
  background-color: #282c34;
  min-height: 100vh;
}

.app {
  padding-top: 10rem;
}

.header {
  display: flex;
  flex-direction: column;
  align-items: center;
  justify-content: center;
}

.logo {
  animation: App-logo-spin infinite 20s linear;
  height: 20vmin;
  pointer-events: none;
}

.todo-list {
  display: flex;
  flex-direction: column;
  align-items: center;
  justify-content: center;
  color: white;
}

.todo {
  display: flex;
  align-items: center;
  margin: 1rem 0;
}

.todo-is-completed .checkbox {
  color: #000;
  background: #fff;
}

.todo-is-completed input {
  text-decoration: line-through;
}

.checkbox {
  width: 18px;
  height: 18px;
  border-radius: 50%;
  margin-right: 10px;
  cursor: pointer;
  font-size: 10px;
  display: flex;
  justify-content: center;
  align-items: center;
  transition: background-color .2s ease-in-out;
  border: 1px solid #fff;
}

.checkbox:hover {
  background: rgba(255, 255, 255, 0.25);
  border: 1px solid rgba(255, 255, 255, 0);
}

.checkbox-checked {
  color: #000;
  background: #fff;
}

ul {
  list-style: none;
  padding: 0;
  line-height: 2rem;
  width: 500px;
}

input {
  border: none;
  background: transparent;
  color: white;
  font-size: 1.4rem;
  outline: none;
  width: 100%;
}

@keyframes App-logo-spin {
  from {
    transform: rotate(0deg);
  }
  to {
    transform: rotate(360deg);
  }
}
Add State with the useState Hook
Now that we have a great looking todo app, let’s start hooking (no pun intended) in some state.
Why do we need state?
State allows us to track change inside of our React components. A todo list changes quite frequently. For example:
- Adding new todos
- Changing the wording of existing todos
- Deleting todos
- Completing todos
- Un-completing todos
That’s quite a lot of state to keep track of!
Go ahead and import the useState Hook alongside where we import React, in the list of imports at the top of App.js:
import React, { useState } from 'react';Finally, initialize a new state property called todos, like so:
...

function App() {
  const [todos, setTodos] = useState([
    {
      content: 'Pickup dry cleaning',
      isCompleted: true,
    },
    {
      content: 'Get haircut',
      isCompleted: false,
    },
    {
      content: 'Build a todo app in React',
      isCompleted: false,
    }
  ]);

...
✋Remember, Hooks have to be initialized inside of the body of a React Component. You can’t initialize them outside of the body or inside of a function.
When you initialize state using the useState Hook, you define two values: the getter and the setter. In the example above, todos is the state value itself, and setTodos is the function that updates the state value.
We’re initializing todos to have a default value of an array filled with objects. Why do we use objects and not simply an array of strings? Because we need to store two pieces of information for each todo:
- The content of the todo, e.g. what the actual todo task is like booking a hair appointment, or buying eggs from the grocery store.
- If the todo is completed or not.
Display Todos
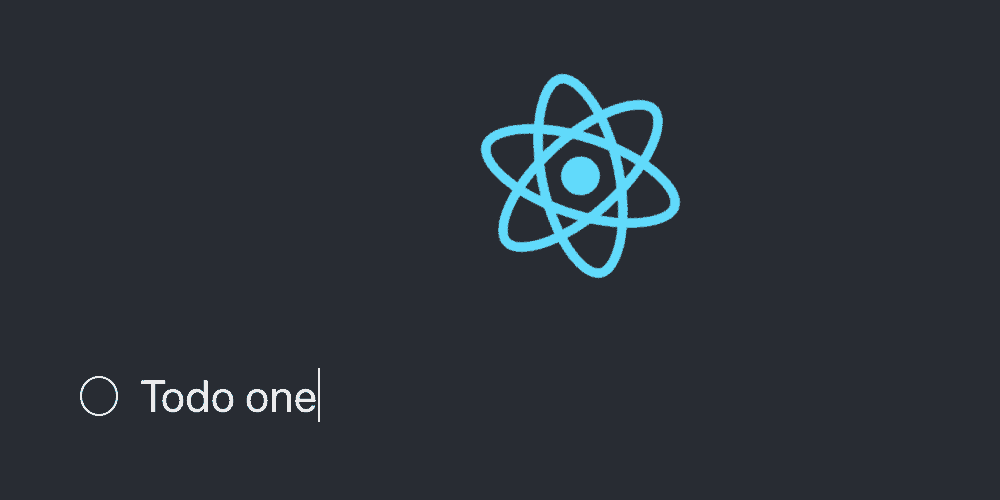
Save the project and jump over to your React app that’s running in your browser (run npm start in the terminal if you haven’t done so already) you’ll see…
…one todo item.
That’s odd. We have three todos in our state, so why are we only seeing one todo item in our app?
We’ve set the initial state value, but haven’t yet used the todo state value in our return statement.
To show the todos, we need to loop through the todos array and render a todo item for each item inside of the todos array. For this, we’ll use the map function.
...
<form className="todo-list">
  <ul>
    {todos.map((todo, i) => (
      <div className="todo">
        <div className="checkbox" />
        <input type="text" value={todo.content} />
      </div>
    ))}
  </ul>
</form>
...
Map is a very common function. You’ll likely come across it many times in your React career, so it’s important you understand how it works. To learn more about it, check out this guide.
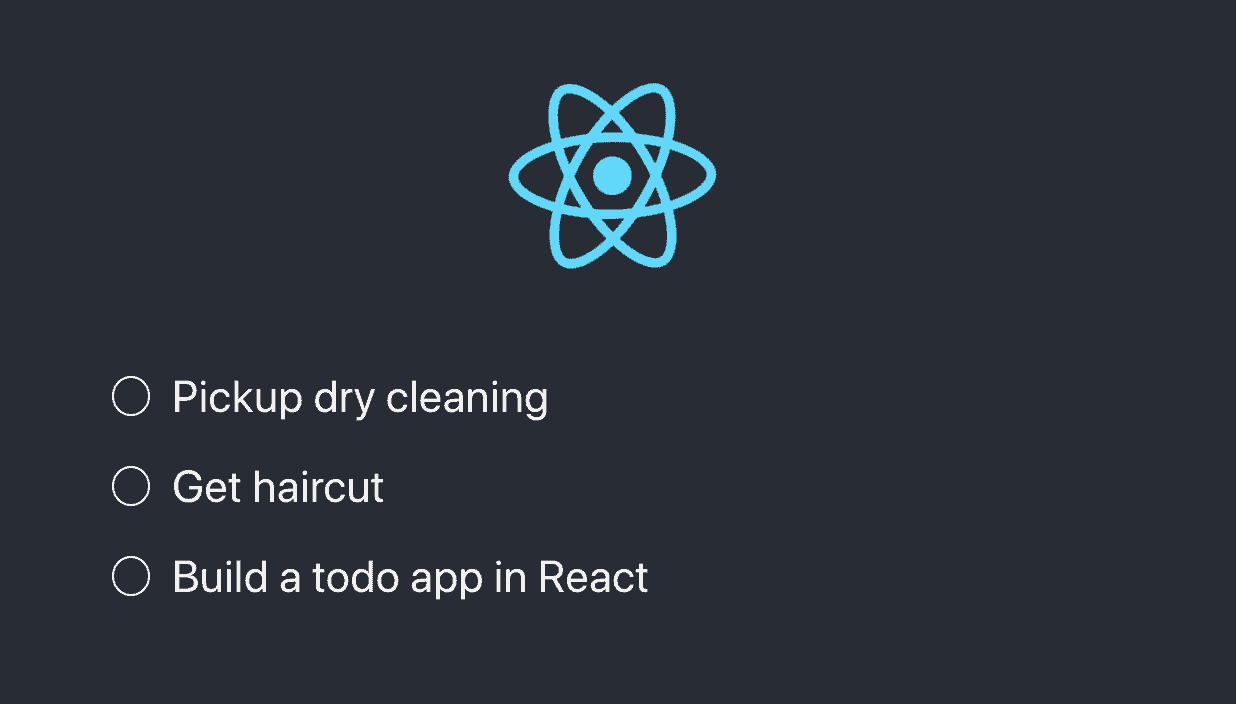
The code above is looping through the todos array and rendering the HTML inside of our parentheses for each item in the array.
Save the component, jump over to your browser and you’ll see something that looks like this:
Create a New Todo
Now that we’re able to display a list of todos in our React app, let’s add the ability to create a new todo item next.
Other todo apps require you to click a button to create a new todo. I’m not a fan of that UX. It feels clunky. We’re better UX designers than that!
Instead, we’ll detect when the return key is pressed to create a new todo. It feels more natural that way.
Start by adding an onKeyDown event handler to the input field:
...

<div className="todo">
  <div className="checkbox" />
  <input
    type="text"
    value={todo.content}
    onKeyDown={e => handleKeyDown(e, i)}
  />
</div>
...
onKeyDown calls a function called handleKeyDown. It passes in the input’s event and the index of the todo. Inside of handleKeyDown, we detect if the return key is pressed. If it is, we call createTodoAtIndex.
Let’s add both of these functions above the return statement, like so:
...

function handleKeyDown(e, i) {
  if (e.key === 'Enter') {
    createTodoAtIndex(e, i);
  }
}

function createTodoAtIndex(e, i) {
  const newTodos = [...todos];
  newTodos.splice(i + 1, 0, {
    content: '',
    isCompleted: false,
  });
  setTodos(newTodos);
  setTimeout(() => {
    document.forms[0].elements[i + 1].focus();
  }, 0);
}

...
The createTodoAtIndex function looks complicated, but it’s actually quite simple. Let me break it down:
- We begin by detecting if the Return key is pressed by checking the value of event.key.
- Next, we create a copy of the todos state array. We do this because state should never be directly mutated (modified).
- Using the copy of todos, we insert a new empty todo after the currently selected todo. That’s why we needed to pass in the current todo index into this function.
- After inserting the new todo into our todos copy, we update the original todos array with the copy.
- Finally, we set the focus to the new input field.
You may have noticed that I wrapped the line of code to focus on the new input field inside of a timeout that triggers after 0 milliseconds…
…huh?!
Let me explain.
Updating the state inside of a React component does not happen instantaneously. It can sometimes take time, especially if what we’re updating contains a lot of data.
Therefore, we add a timeout delay to the focus to wait for the state to finish updating before focusing on the newly rendered input.
If you’d like to learn more about setTimeout, read my tutorial on setTimeout in React Components Using Hooks.
Update a Todo
Now that we can create a new todo, let’s add the functionality to actually write in a value for that todo item.
Input fields have an onChange event handler which is triggered whenever the value of that field changes. Be careful though, as the value itself is not provided from the change handler. Instead, an event object is given, which allows you to find the value through event.target.value.
Add the following function below the createTodoAtIndex function you created earlier:
...

function updateTodoAtIndex(e, i) {
  const newTodos = [...todos];
  newTodos[i].content = e.target.value;
  setTodos(newTodos);
}

...
Much like createTodoAtIndex, updateTodoAtIndex takes two parameters: the input event and the todo index. Similarly, we make a copy of the todos array to avoid directly mutating the state.
Within this copy, we change the value of the todo content key with the value inside of the event object. Finally, we update the todos state object with the updated copy, and, voila!
Remove a Todo
Remember our onKeyDown handler? We’re headed back there, but this time to detect if the backspace key is pressed. If it is, we call a new function called removeTodoAtIndex.
function handleKeyDown(e, i) {
  if (e.key === 'Enter') {
    createTodoAtIndex(e, i);
  }
  if (e.key === 'Backspace' && todos[i].content === '') {
    e.preventDefault();
    return removeTodoAtIndex(i);
  }
}

function removeTodoAtIndex(i) {
  if (i === 0 && todos.length === 1) return;
  setTodos(todos => todos.slice(0, i).concat(todos.slice(i + 1, todos.length)));
  setTimeout(() => {
    document.forms[0].elements[i - 1].focus();
  }, 0);
}
Save the component, jump back over to your browser and delete one of the todo items. You should see the whole todo item disappear when you hit backspace on an empty todo.
Complete a Todo
We’ve covered creating, updating, and deleting a todo. Now, let’s add the last piece of the puzzle in our React todo app: completing a todo! ✅
Right now, when you hover over a circle inside of a todo, you’ll see it turn grey. That’s the CSS hover effect coming in to play. However, if you click the circle nothing happens.
Let’s change that.
Add an onClick handler to the todo as well as the todo-is-completed CSS class.
...
<div className={`todo ${todo.isCompleted && 'todo-is-completed'}`}>
<div className={'checkbox'} onClick={() => toggleTodoCompleteAtIndex(i)}>
{todo.isCompleted && (
<span>✔</span>
)}
</div>
<input
type="text"
value={todo.content}
onKeyDown={e => handleKeyDown(e, i)}
onChange={e => updateTodoAtIndex(e, i)}
/>
</div>
...Finally, add the toggleTodoCompletedAtIndex function underneath the other functions:
function toggleTodoCompleteAtIndex(index) {
  const temporaryTodos = [...todos];
  temporaryTodos[index].isCompleted = !temporaryTodos[index].isCompleted;
  setTodos(temporaryTodos);
}
Save the component, open the React app, and click on one of the todo items’ checkboxes…
The Full Source for React Todo
I’ve provided the full source code below so you can see our React todo component in all its glory.
Don’t forget to follow me on Twitter for more original React tutorials like this one!
import React, { useState } from 'react';
import logo from './logo.svg';
import './App.css';
function App() {
const [todos, setTodos] = useState([
{
content: 'Pickup dry cleaning',
isCompleted: true,
},
{
content: 'Get haircut',
isCompleted: false,
},
{
content: 'Build a todo app in React',
isCompleted: false,
}
]);
function handleKeyDown(e, i) {
if (e.key === 'Enter') {
createTodoAtIndex(e, i);
}
if (e.key === 'Backspace' && todos[i].content === '') {
e.preventDefault();
return removeTodoAtIndex(i);
}
}
function createTodoAtIndex(e, i) {
const newTodos = [...todos];
newTodos.splice(i + 1, 0, {
content: '',
isCompleted: false,
});
setTodos(newTodos);
setTimeout(() => {
document.forms[0].elements[i + 1].focus();
}, 0);
}
function updateTodoAtIndex(e, i) {
const newTodos = [...todos];
newTodos[i].content = e.target.value;
setTodos(newTodos);
}
function removeTodoAtIndex(i) {
if (i === 0 && todos.length === 1) return;
setTodos(todos => todos.slice(0, i).concat(todos.slice(i + 1, todos.length)));
setTimeout(() => {
document.forms[0].elements[i - 1].focus();
}, 0);
}
function toggleTodoCompleteAtIndex(index) {
const temporaryTodos = [...todos];
temporaryTodos[index].isCompleted = !temporaryTodos[index].isCompleted;
setTodos(temporaryTodos);
}
return (
<div className="app">
<div className="header">
<img src={logo} className="logo" alt="logo" />
</div>
<form className="todo-list">
<ul>
{todos.map((todo, i) => (
<div className={`todo ${todo.isCompleted && 'todo-is-completed'}`}>
<div className={'checkbox'} onClick={() => toggleTodoCompleteAtIndex(i)}>
{todo.isCompleted && (
<span>✔</span>
)}
</div>
<input
type="text"
value={todo.content}
onKeyDown={e => handleKeyDown(e, i)}
onChange={e => updateTodoAtIndex(e, i)}
/>
</div>
))}
</ul>
</form>
</div>
);
}
export default App;
💬 Leave a comment