Email validation is a crucial part of any web application. It ensures that the user input is valid and can be used for various purposes like registration, login, and communication. In this article, we will walk through how to validate an email address in a React application with a few different approaches.
Regex
The most common approach you’ll see to this online is through Regex, or Regular Expressions. If you’re not sure what that is, Regex is a way of defining patterns in text, e.g. “numbers that end in a 5”, or “sentences that mention TypeScript”. It’s commonly used to search text for those patterns, or in our case, to make sure a string matches a pattern.
Regex is an extremely powerful tool, so if you’re unfamiliar with it, I’d recommend reading up on it. RegExr is a great starting point for playing around with Regex.
A regex pattern for a valid email address could look something like this:
/^[A-Z0-9._%+-]+@[A-Z0-9.-]+\.[A-Z]{2,}$/iSo how do we use this in React? Let’s set up a form and find out.
We’ll keep it simple and stick with using vanilla React here, but if you want to skip all this, you might want to look into a library like React Hook Forms.
We’ll be using the useState hook to manage the state of our input fields, as well as the useEffect hook to handle any changes to our input values.
    const [email, setEmail] = useState('');
    const [error, setError] = useState<string | null>(null);
We’ll then create a function to handle changes to our email input field. This function will update the state of our email variable whenever the user types in a new value.
const handleEmailChange = (event) => {
  setEmail(event.target.value);
}
Now, we’ll create a function to validate the user’s email input. This function will check if the entered email is in the correct format. We’ll be using our Regex from before to validate the email.
const validateEmail = () => {
  const emailRegex = /^[A-Z0-9._%+-]+@[A-Z0-9.-]+\.[A-Z]{2,}$/i;
  if (!emailRegex.test(email)) {
    setError('Please enter a valid email address');
  } else {
    setError('');
  }
}
And finally, we’ll put this all together in a React component, with some styling from TailwindCSS:
    return (
        <div className="flex h-screen w-full flex-col items-center justify-center gap-6">
            <form className="flex w-full items-center justify-center gap-2">
                <div className="p-5">Email:</div>
                <input
                    type="email"
                    value={email}
                    className="invalid:bg-red-200 invalid:text-red-800"
                    onChange={handleEmailChange}></input>
            </form>
            {error && (
                <div className="bg-red-800 p-4 font-bold text-white">
                    {error}
                </div>
            )}
        </div>
    );
Here’s the full component:
export default function EmailRegex() {
    const regex = /^[A-Z0-9._%+-]+@[A-Z0-9.-]+\.[A-Z]{2,}$/i;
    const [email, setEmail] = useState('');
    const [error, setError] = useState<string | null>(null);
    const handleEmailChange = (event: ChangeEvent<HTMLInputElement>) => {
        setEmail(event.target.value);
    };
    const validateEmail = () => {
        const emailRegex = /^[A-Z0-9._%+-]+@[A-Z0-9.-]+\.[A-Z]{2,}$/i;
        if (!emailRegex.test(email)) {
            setError('Please enter a valid email address');
        } else {
            setError('');
        }
    };

    useEffect(() => {
        validateEmail();
    }, [email]);

    return (
        <div className="flex h-screen w-full flex-col items-center justify-center gap-6">
            <form className="flex w-full items-center justify-center gap-2">
                <div className="p-5">Email:</div>
                <input
                    type="email"
                    value={email}
                    className="invalid:bg-red-200 invalid:text-red-800"
                    onChange={handleEmailChange}></input>
            </form>
            {error && (
                <div className="bg-red-800 p-4 font-bold text-white">
                    {error}
                </div>
            )}
        </div>
    );
}
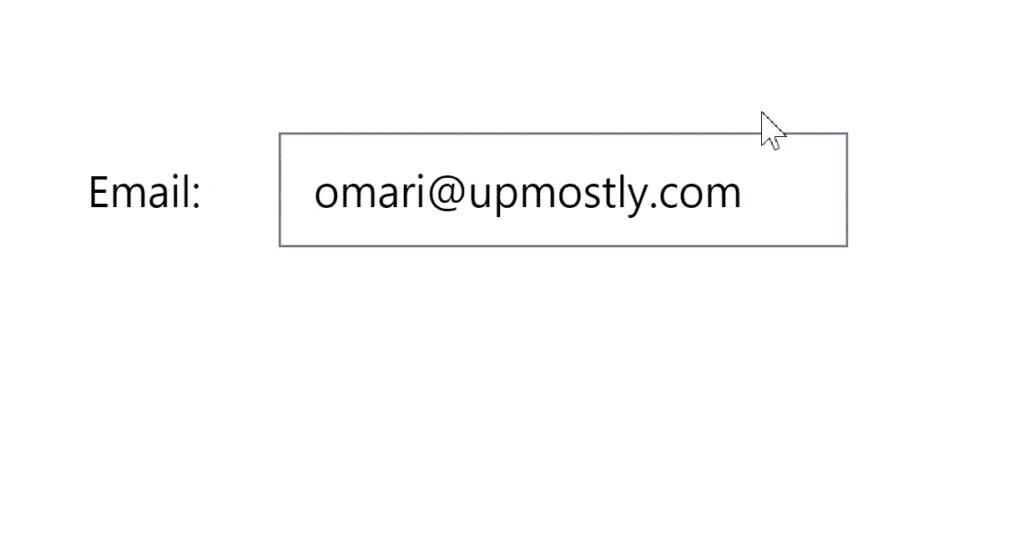
And here’s what the end result looks like:

Conclusion
I hope this article on how to validate email inputs in a form using React has been helpful to you! By implementing the steps I’ve outlined, you can provide users with a seamless and error-free experience when filling out your web application’s forms.
Remember, validating email inputs is just one aspect of creating a successful web application. If you have any questions or comments about this article, I’d love to hear from you. Feel free to leave a comment below, and I’ll get back to you as soon as possible.
Thank you for reading, and happy coding!
💬 Leave a comment