When we talk about real-time chat applications, we think of web sockets and how to handle receive and send messages through dedicated sockets and handle them efficiently. In this guide, we are going to learn how to make a real-time chat application using firebase and ReactJS. 🔥 + ⚛️
Pre-requisites
- Javascript
- Development environment
- Programming concepts
- ReactJS environment
1. Getting Started
We will kick off by creating a new ReactJS application
npx create-react-app my-chat-app2. Firebase Configuration
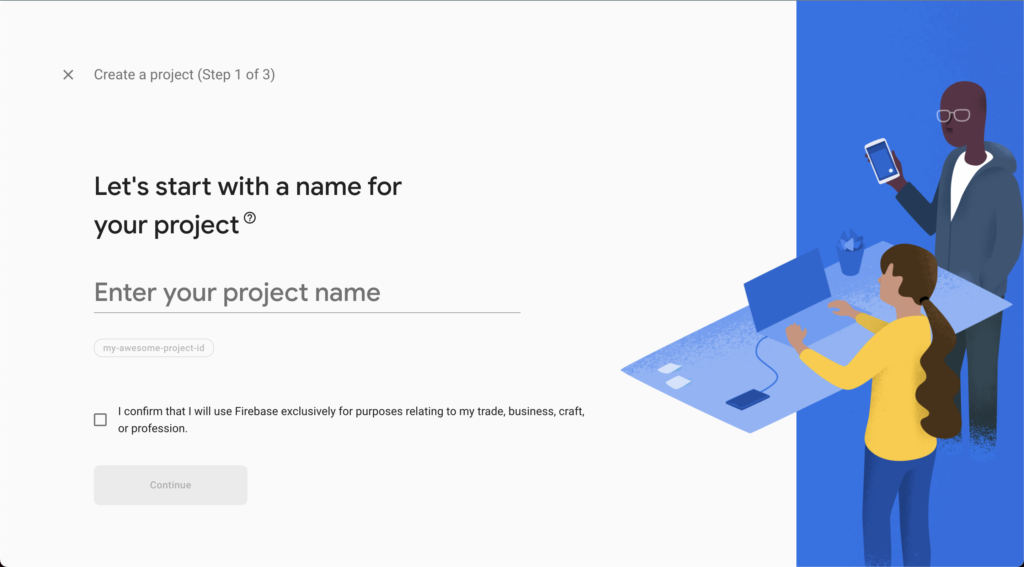
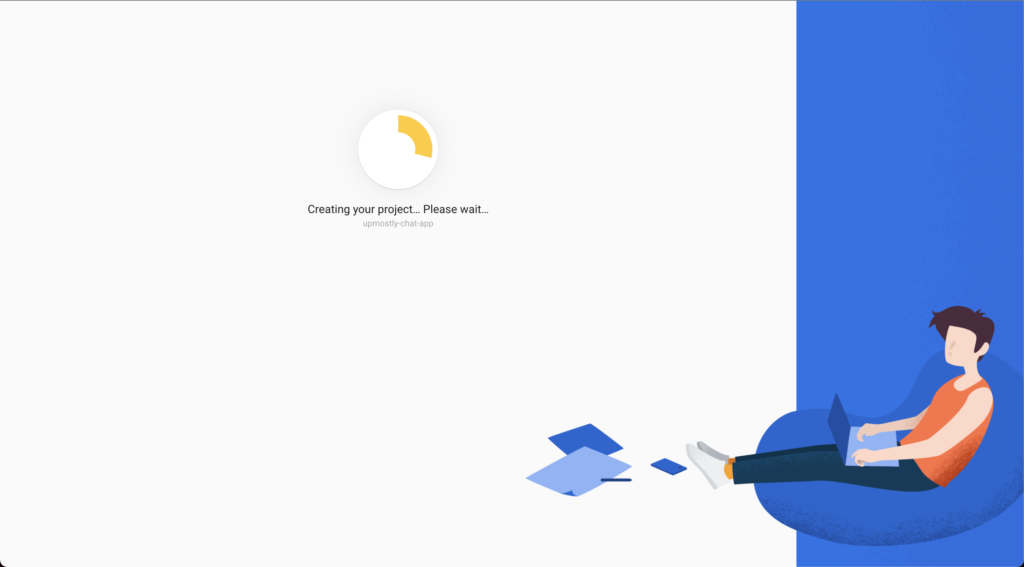
While your new ReactJS project is being installed let us jump on our next configuration so that we can save time 😋. Go to firebase console. Over here you can get started by adding a new project. You will now go through some steps to successfully create a firebase project.
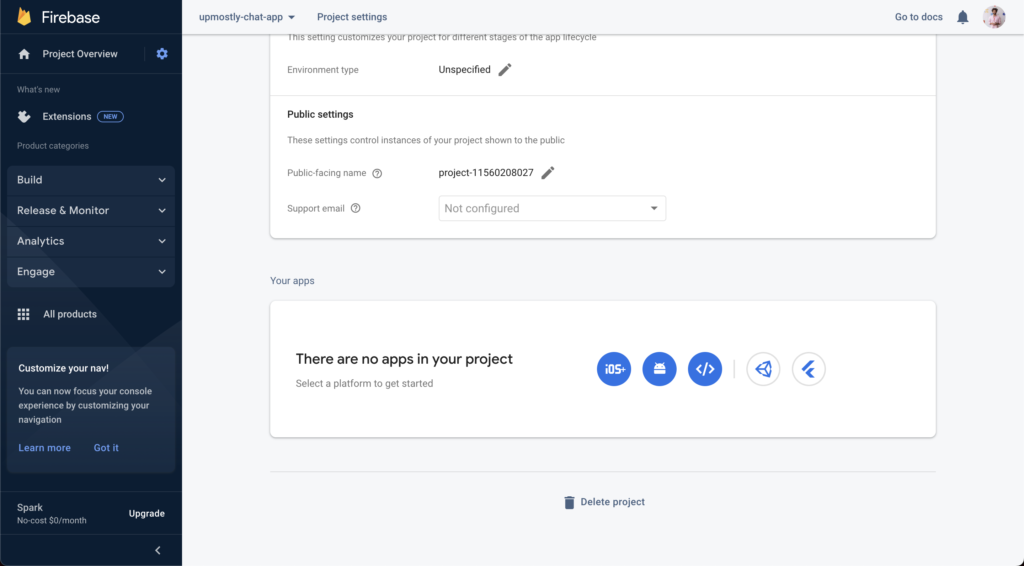
When your firebase project is ready, go to project overview, and at the end of the page create a web application for your project. After creating the application you will get a configuration snippet for your code. Copy that to you file, we will be using it later.
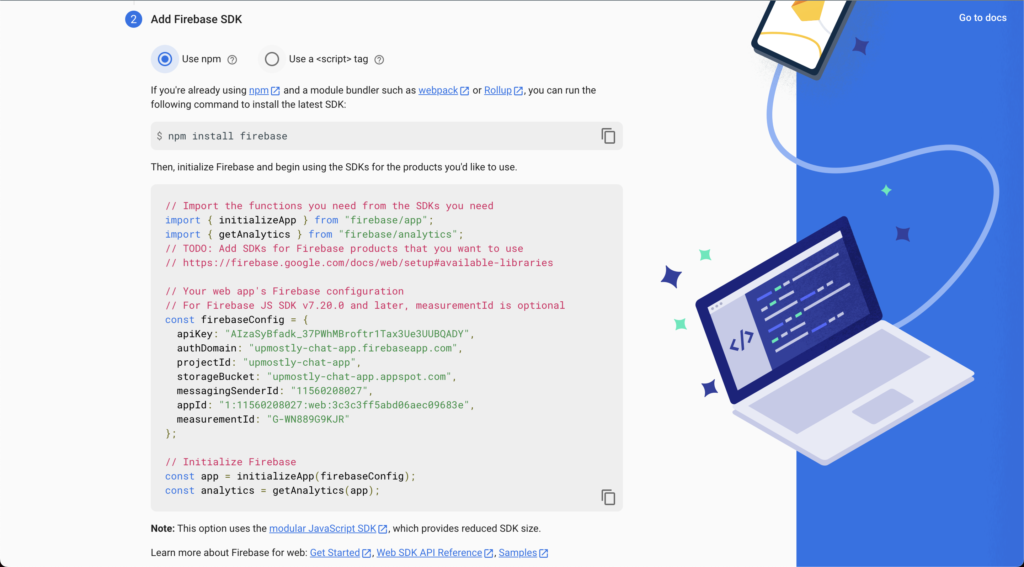
After copying this configuration, move on to the next steps which are
- Firestore configuration 🚀
- Authentication with Google 👀🔑
3. Firestore Configuration 🔥
Firestore is a flexible, scalable NoSQL cloud database to store and sync data for client and server-side development. It syncs data using real-time listeners and also offers offline support. Go to Build -> Firestore database to create a new database and collection in it, once you new database is ready go under Data tab and create a new collection with the name chat-messages, we will be using this collection to store our messages data.


Now go under the Rules tab and change the read, write rules to true
allow read, write: if true;4. Authentication Using Google
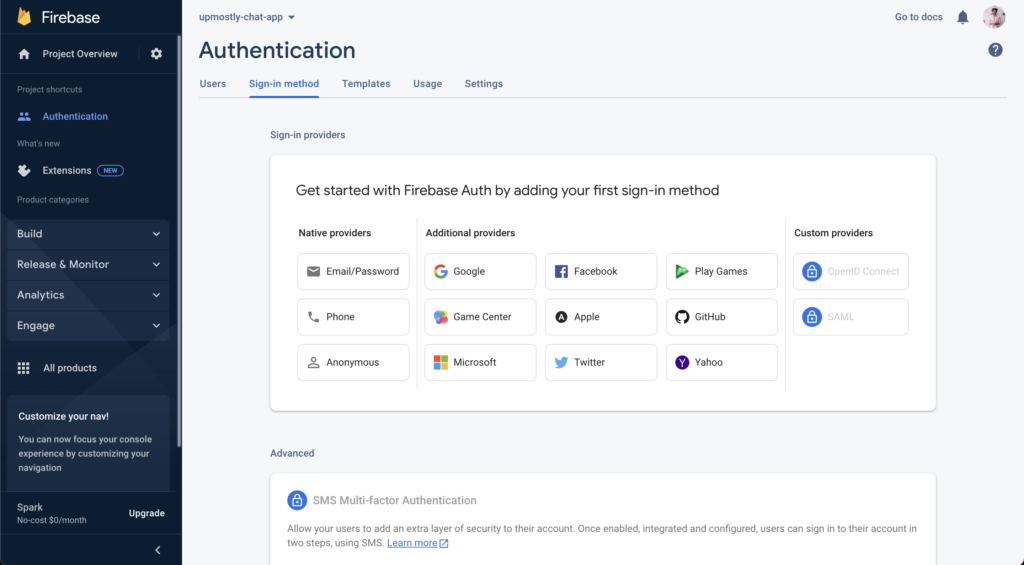
Mostly all of the applications require some way of recognizing their users so that relevant can be displayed on their accounts. Firebase authentication allows various methods of authentication using phone number, email, google, username, and many more. For this one, we are going to set up google authentication. Go to Build -> Authentication from the left panel on the firebase project console and select google from the list of options and complete the setup.
5. Code Dive 👨🏽💻
Now that our configurations are done, let us jump into code without wasting any more time. Install these dependencies first.
npm i firebase react-firebase-hooksUnder src/config make a firebase configuration file to use and initialize the firebase project in our react JS application.
import { initializeApp } from "firebase/app";

const firebaseApp = initializeApp({
  // your configurations will go here
});
And in the same configuration file, we will put down configurations for firestore and authentication as well and export all three from there.
import { getAuth } from "firebase/auth";
const firebaseAuth = getAuth();
import { getFirestore } from "firebase/firestore";
const firebaseFirestore = getFirestore(firebaseApp);export { firebaseApp, firebaseFirestore, firebaseAuth };6. Component Breakdown
Inside our App.js we will check if our user is logged in if they are we are going to render the chat room and if they are not we will render the Login button. We will be using useAuthState hook by react-firebase-hooks to check logged-in users.
import React from "react";
import "./App.css";
import "firebase/firestore";
import "firebase/auth";
import "firebase/analytics";

import { getAnalytics } from "firebase/analytics";
import { useAuthState } from "react-firebase-hooks/auth";
import ChatRoom from "./components/shared/ChatRoom";
import { firebaseAuth } from "./config/firebase";
import Logout from "./components/shared/Logout";
import Login from "./components/shared/Login";

getAnalytics();

function App() {
  const [user] = useAuthState(firebaseAuth);
  return (
    <div className="App">
      <header>
        <img
          className="logo"
          src={
            "https://media-exp1.licdn.com/dms/image/C4E0BAQH_rUv_B2D53g/company-logo_200_200/0/1588445172804?e=1672876800&v=beta&t=IavOGphydKOcsodno1NAWhP76nVn6pGG3FytO8T2R8k"
          }
        />
        {user ? <h2>{`Welcome ${user?.displayName}`}</h2> : <></>}
        <Logout />
      </header>

      <section>{user ? <ChatRoom /> : <Login />}</section>
    </div>
  );
}

export default App;
We see different components supporting App.js.
- <Logout />
- <Login />
- <ChatRoom />
- <ChatMessage />
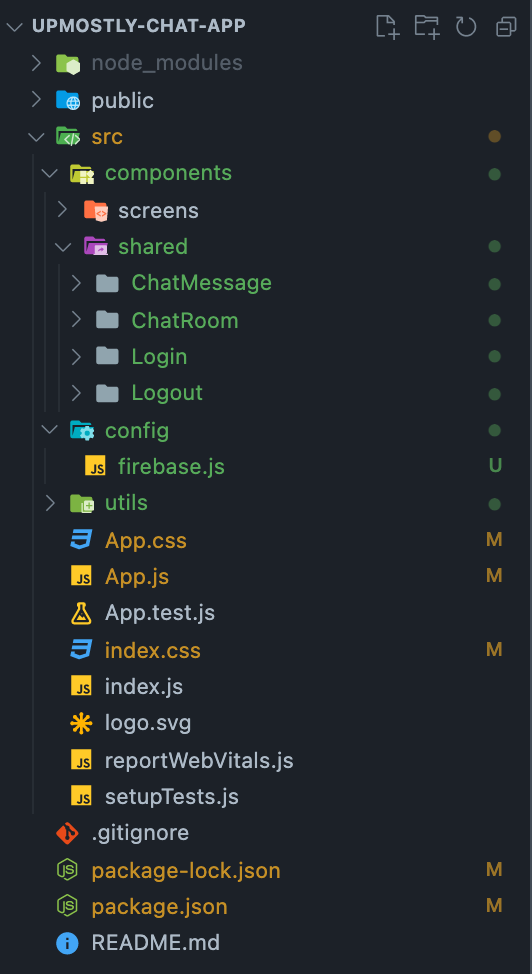
Our codebase has the following structure
7. ChatRoom Component
import React, { useRef, useState } from "react";
import {
  collection,
  getDocs,
  addDoc,
  orderBy,
  limit,
  query,
  serverTimestamp,
} from "firebase/firestore";
import { firebaseAuth, firebaseFirestore } from "../../../config/firebase";
import ChatMessage from "../ChatMessage";

function ChatRoom() {
  const divForAutoScroll = useRef();
  const [messages, setMessages] = useState([]);
  const [formValue, setFormValue] = useState("");
  const messagesRef = collection(firebaseFirestore, "chat-messages");
  const q = query(messagesRef, orderBy("createdAt"), limit(25));
  getDocs(q).then((response) => {
    setMessages(response.docs.map((doc) => doc.data()));
  });

  const sendMessage = async (e) => {
    e.preventDefault();

    const { uid, photoURL } = firebaseAuth.currentUser;

    await addDoc(collection(firebaseFirestore, "chat-messages"), {
      text: formValue,
      createdAt: serverTimestamp(),
      uid,
      photoURL,
    });

    setFormValue("");
    divForAutoScroll.current.scrollIntoView({ behavior: "smooth" });
  };

  return (
    <>
      <main>
        {messages &&
          messages.map((msg) => (
            <ChatMessage key={msg.createdAt} message={msg} />
          ))}

        <span ref={divForAutoScroll}></span>
      </main>

      <form onSubmit={sendMessage}>
        <input
          value={formValue}
          onChange={(e) => setFormValue(e.target.value)}
          placeholder="Write a message..."
        />

        <button type="submit" className="button-submit" disabled={!formValue}>
          ➡️
        </button>
      </form>
    </>
  );
}

export default ChatRoom;
Inside our ChatRoom component, we have a form to write a new message, fetching messages from firestore using query, using addDoc to post new messages to the firestore collection, and div for auto scrolling whenever a new message is added. Isn’t that neat? 🤩
8. ChatMessage Component
In our application chat room component is consuming the ChatMessage component so let’s go ahead and construct that as well.
import { firebaseAuth } from "../../../config/firebase";

function ChatMessage(props) {
  const { text, uid, photoURL } = props.message;
  const messageClass =
    uid === firebaseAuth.currentUser.uid ? "sent" : "received";

  return (
    <>
      <div className={`message ${messageClass}`}>
        <img
          src={
            photoURL ||
            "https://media-exp1.licdn.com/dms/image/C4D03AQGdjRH_8EOjAA/profile-displayphoto-shrink_400_400/0/1641733341873?e=1670457600&v=beta&t=nWuW9BjwZxZ4g4jkl6B7cD4TkUd7kBr0JQwCU87dv5E"
          }
        />
        <p>{text}</p>
      </div>
    </>
  );
}

export default ChatMessage;
Our ChatMessage component is dumb or presentational only since it is just rendering the messages using the data provided by ChatRoom. The only check it has is whether the message is from the receiver end or the sender end.
9. Login & Logout
The Login and Logout component are pretty straight forward so I decided to join them under one section.
import { GoogleAuthProvider, signInWithPopup } from "firebase/auth";
import { firebaseAuth } from "../../../config/firebase";

function Login() {
  const signInWithGoogle = () => {
    const provider = new GoogleAuthProvider();
    signInWithPopup(firebaseAuth, provider);
  };

  return (
    <>
      <button className="sign-in" onClick={signInWithGoogle}>
        Login with Google 👀🚀
      </button>
    </>
  );
}

export default Login;
Inside Login, we are using GoogleAuthProvider to login into a new pop-up window with the help signInWithPopup.
import { firebaseAuth } from "../../../config/firebase";

function Logout() {
  return (
    firebaseAuth.currentUser && (
      <button className="sign-out" onClick={() => firebaseAuth.signOut()}>
        👋🏽
      </button>
    )
  );
}

export default Logout;
While in our logout component we are emptying our user inside the firebase authentication.
MOMENT OF TRUTH 🚀🔥
Wrap Up 😮💨
Did we just make a real-time chat application with under 300 lines of code and less than 20 minutes? 😅
THAT’S ABSOLUTE FIRE 🔥🥵. We used firebase and reactJS applications in combination to build a beautiful chat application. I know this guide was too long, let me know in the comments section if it was worth it. I will see you in the next one, Take Care.🤓
Repository
Here’s a link to the repository so that you can have a look at the code easily.
💬 Leave a comment